CloudPBX Voicemail Softphone Setup
Estimated Reading Time: < 1 Minute
|
Step |
Task |
Screenshot |
|
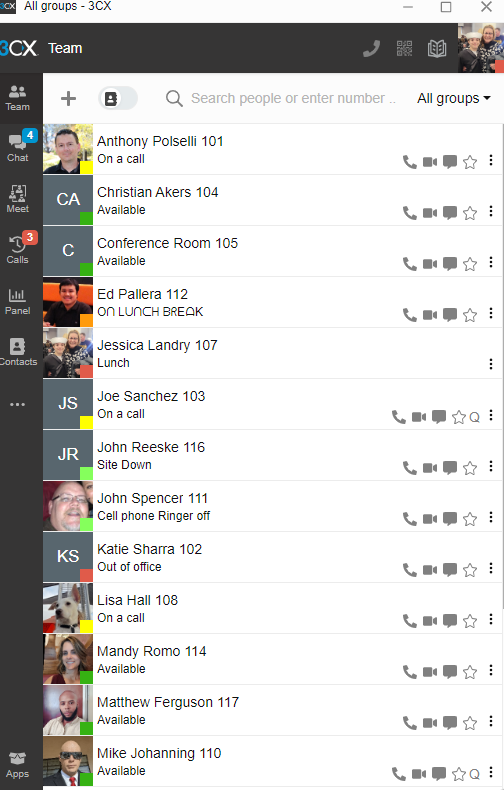
1 |
Open your main CloudPBX window. |
|
|
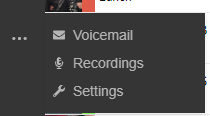
2 |
Choose the Menu ... Option in the left Pane under Contacts |
|
|
3 |
Select Settings |
|
|
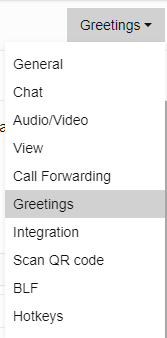
4 |
From the Drop down menu in the upper right corner Change from General To Greetings |
 |
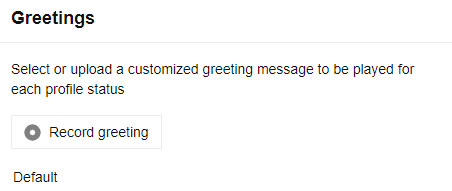
| 5 | Select the Record button |
|
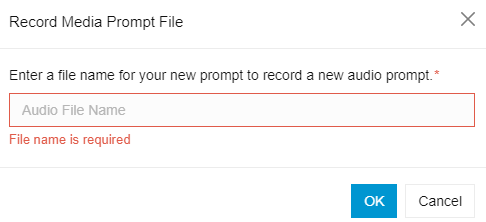
| 6 |
Name your recording file Press OK to save your greeting. |
 |
| 7 |
Once you select OK the system will call you. Press the green answer button |
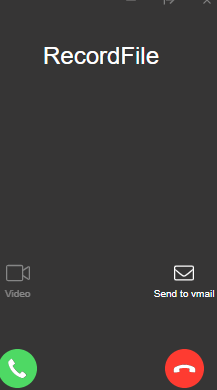 |
| You will hear Record your message then Press # | ||