Quick User Guide to Your CloudPBX
Estimated Reading Time: 3 Minutes
Quick User Guide to Your CloudPBX
For a tour of your Natural Networks 3CX software, check out this video: https://youtu.be/mK-HskeUXvM
|
Task |
Screenshot |
| Manage Your Status | |
|
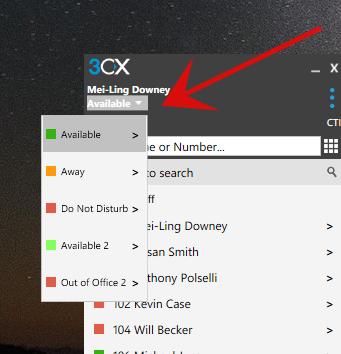
From your desktop, go to your CloudPBX app. Below your name, click on the arrow to reveal the drop-down menu. Then, select your status.
|
 |
| Setting Your Voicemail Greeting from the Phone | |
|
From Your desktop Phone:
|
Press “#” to end recording and “0” to save. |
| To Playback Voicemail by Phone | |
|
By Phone: |
|
|
By Email |
You will receive an email with the sound file attached (.wav). Double-click on the sound file and it should automatically open and play. |
| Make & Receive Calls | |
|
|
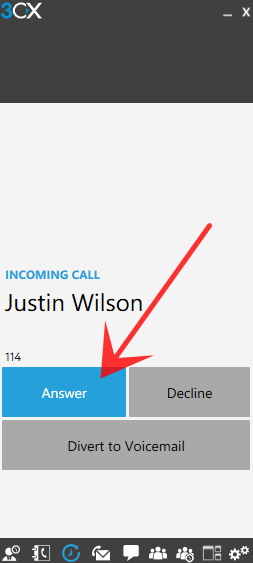
To receive a call, click on Answer.
|
| Transfer Calls | |
|
|
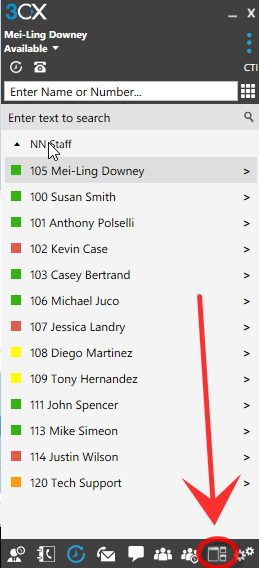
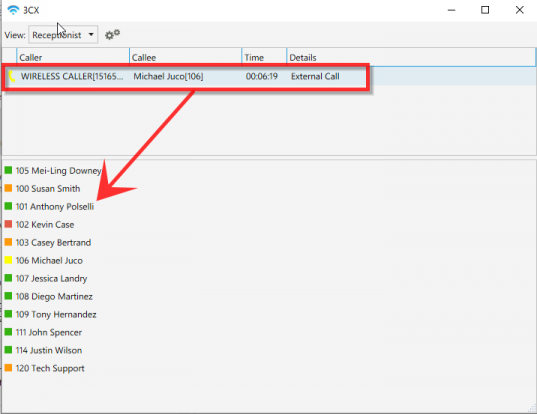
Method 1: From Your App 1. Transfer a call by clicking “Transfer” or “Att. Transfer”. Or, go to your Switchboard by clicking here:
2. The Switchboard window will open. From there, you can click above to where the live call is, click and drag to the extension you would like to transfer to.
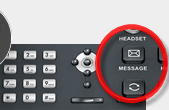
Method 2: From the Physical Phone
Method 3: Blind Transfer 3. To blind transfer, click “Transfer” and hang up. |
| Chat with Your Colleagues | |
|
|
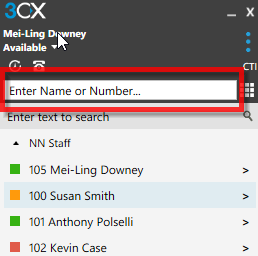
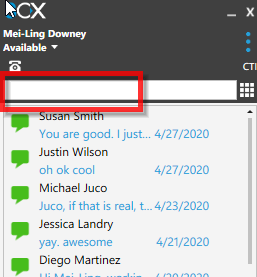
2. Find a previous chat, or, enter the extension of the person you want to chat with:
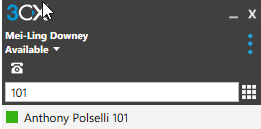
3. When you enter the extension, it will appear so you can select them.
|
| Call Numbers from Web Pages Using the Click2Call Extension | |
|
|
|
| To Park a Call | |
|
|
BLIND Transfer Button followed by *00 to 09 to specify the parking orbit. Dialing *01 will place the call in the parking orbit 1. Dialing *02 will place the call in the parking orbit 2. |
| To Pick Up a Parked Call | |
|
|
Dialing *10 to 19 where the 0 – 9 is the park orbit number *11 will pick up any calls parked in parking orbit 1 *12 will pick up any calls parked in parking orbit 2 |
| Multiple Calls in Parking Lots | |
|
|
To un-park, add the extension number from which the call was parked if extension 100 parked a call in park 0, this call can be picked up by extension 101 by dialing *10100 |
| Creating a Web Conference | |
|
|
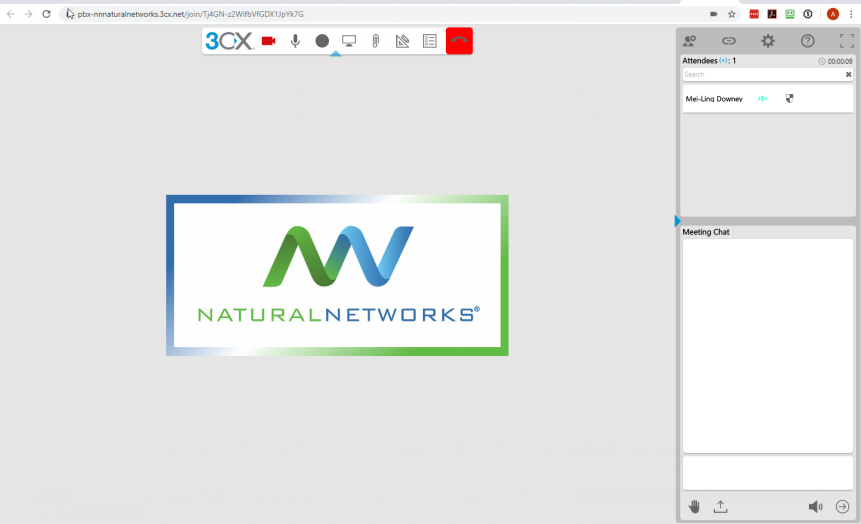
2. Your default browser will open a new tab for the WebMeeting. Allow WebMeeting to use the camera and microphone. Your screen should look like this:
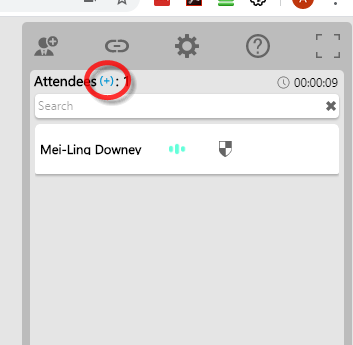
3. In the top right box, click on the "+" to add an attendee to the meeting.
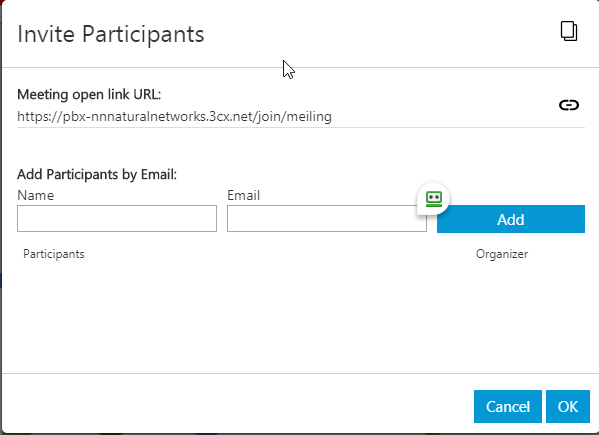
4. The Invite Participants box will open. There, you can add each participant that you would like in the meeting.
5. Once you have finished, click OK. Each participant will receive an email from you with the invite to join the webmeeting. |
| Creating an Audio Conference from the Web Client, Android & iOS Apps | |
|
|
External Participants will receive an invitation email with an external dial-in number and a PIN. Internal participants will receive an email with an extension and PIN or be called. |
