Step
Task
Screenshot
1
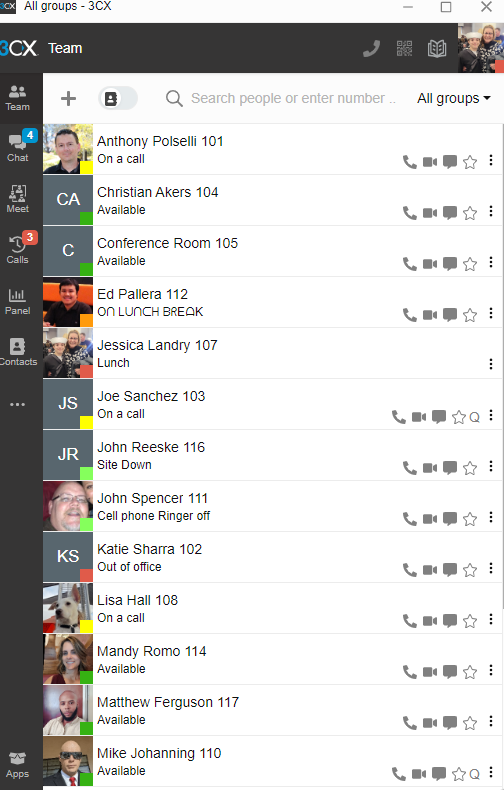
Open your main CloudPBX window.
2
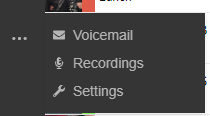
Choose the Menu ... Option in the left Pane under Contacts

3
Select Settings
4
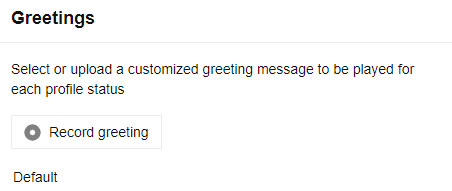
From the Drop down menu in the upper right corner Change from General To Greetings
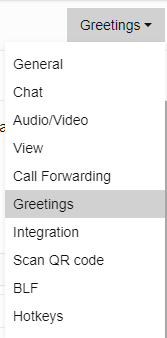
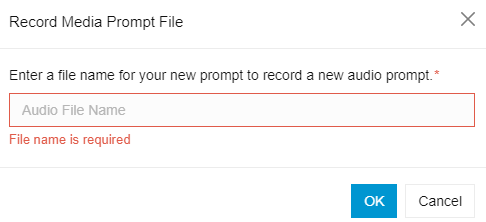
- Type in what you would like to call your greeting message file
- Press "OK" on the bottom.
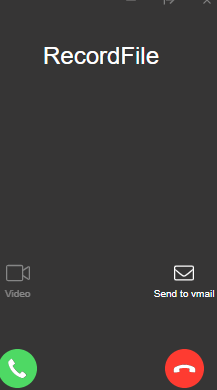
Name your recording file
Press OK to save your greeting.
Once you select OK the system will call you. Press the green answer button