How to Configure an iPhone using IMAP
Estimated Reading Time: 1 MinutesHow to Configure an iPhone using IMAP
This article explains and shows you how to configure an iPhone with an IMAP e-mail account. This process is simple and should only take a few minutes.
|
Step # |
Task |
Screenshot |
|
1. |
From the home screen, go to the "Settings" application. |
|
|
2. |
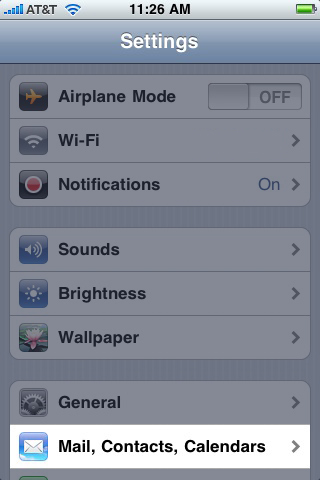
On the settings screen, tap Mail, Contacts, Calendars.
|
|
|
3. |
Tap Add Account. |
|
|
4. |
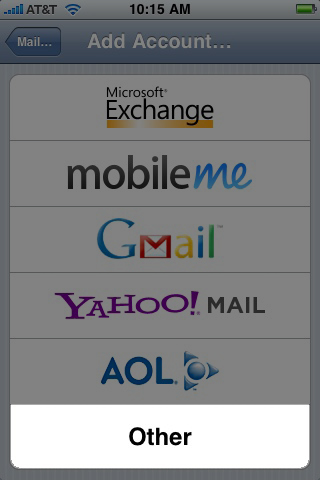
Tap Other. |
 |
|
5. |
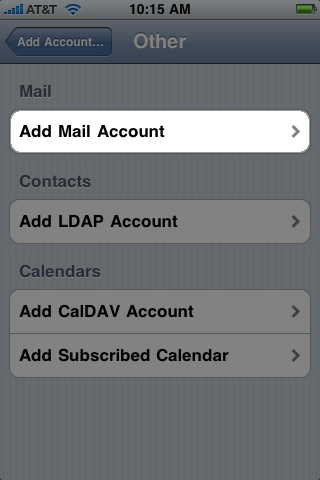
Tap Add Mail Account. |
 |
|
6. |
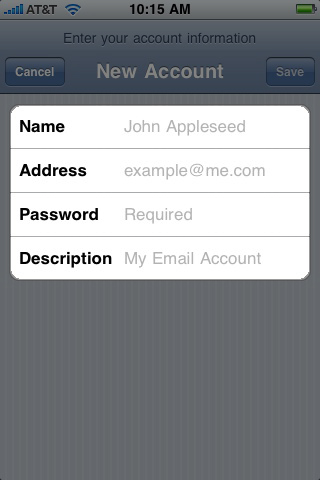
Fill out the Name, E-mail Address, and Password fields. For Description, it is best to use your e-mail address. |
 |
|
7. |
Click Next. |
|
|
8. |
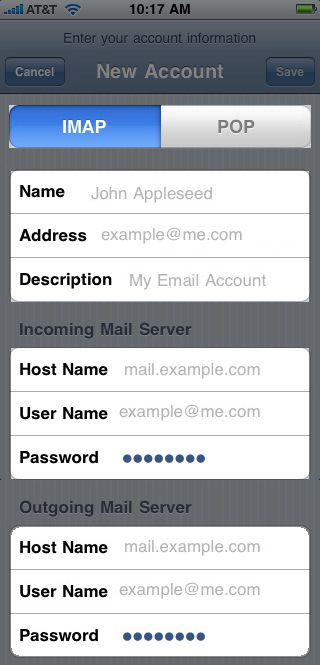
Tap IMAP and fill out the settings completely as follows: |
Incoming Mail Server:
When finished, click save. |
|
9. |
A popup with the message "Cannot connect using SSL" will appear. Click Yes to set up the account without SSL. |
 |
Note: If you experience difficulties when sending e-mails, please verify the outgoing mail server port. This is accessible by returning to the Mail, Contacts, Calendars screen, selecting your desired account, and then tapping the Outgoing Mail Server button. Choose the corresponding entry and verify the port setting below.
Port: 587

