How to change a Tenant Name in M365
Estimated Reading Time: 1 Minutes|
Step# |
Task |
Screenshot |
|
1 |
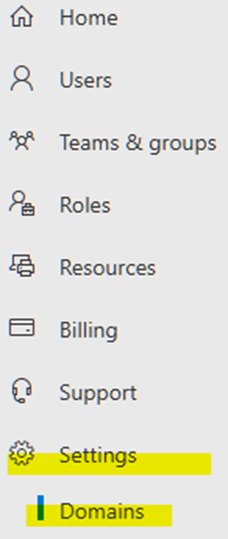
In the 365 Admin Center, select Settings>Domain
|
|
|
2 |
Select your onmicrosoft.com default domain. |
|
|
3 |
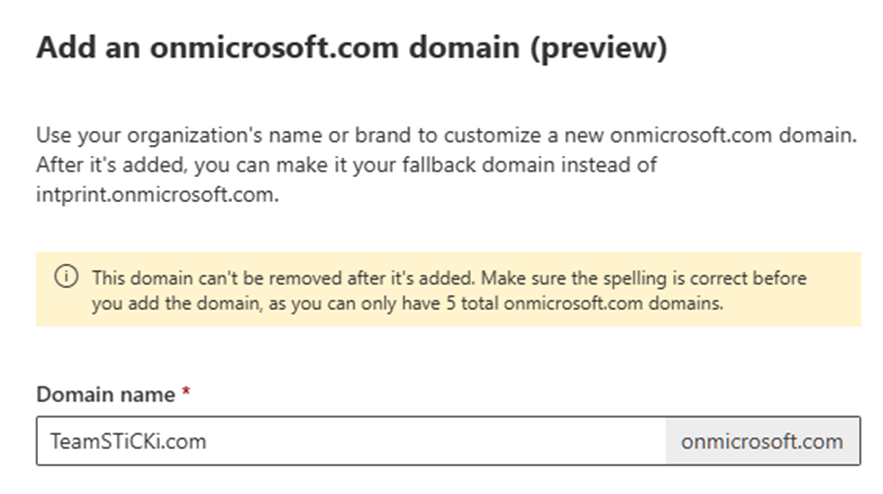
On the domain properties page, in the About this domain section, select Add onmicrosoft domain.
In the Add onmicrosoft domain page, in the Domain name box, type the name for your new onmicrosoft.com domain. |
|
|
4 |
Select Add domain. When successfully added, you'll see a message stating this. |
|
|
5 |
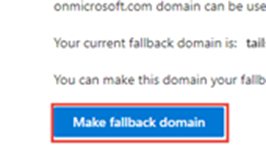
In the new “onmicrosoft.com” domain properties, select “Make fallback domain”
A message will appear on the page stating that your fallback domain has been changed to a new domain. |
|
|
6 |
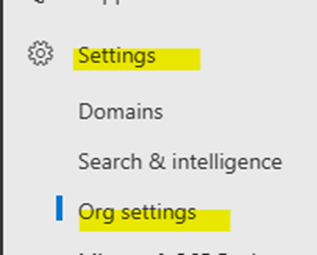
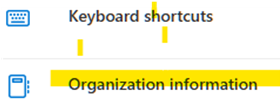
In 365 Admin Center, go to Settings>org settings, and at the top of the window, click “Organization profile.” |
|
|
7 |
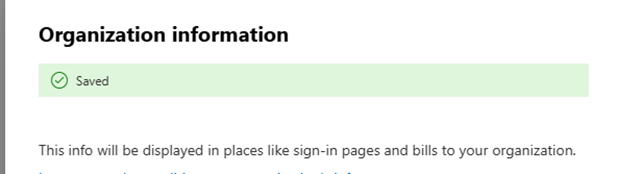
Click “Organization information.” Change the name and other information, then click “Save.” You will receive a confirmation when it’s complete. |
|
|
8 |
The last step is to rename Sharepoint/OneDrive folders. This requires PowerShell. You can find the script here: M:\Natural Networks\Powershell Scripts\Office365\SPOTenantRename.ps1
If you do it correctly, it will give you confirmation. It will be completed at the time you indicate. |
Connect-SPOService -Url "https://tenant-admin.sharepoint.com/" Start-SPOTenantRename -DomainName newtenant -ScheduledDateTime "2024-08-29T16:35:00" -Confirm ## Date must be at least 24 hours in the future Disconnect-SPOService
*Replace tenant & newtenant with the correct names. |
|
9 |
Verify that you’ve changed the email addresses for the correct active users. Set the new email as the default and notify them. |
Don't forget to check shared mailboxes and dist lists |