How to Create a New Outlook profile for Hosted Exchange Email
Estimated Reading Time: 1 MinutesHow to Create a New Outlook profile for Hosted Exchange Email
(Office 365 or Any Exchange Server with Auto Discover Configured)
A profile consists of accounts, data files, and settings that specify where your email messages are saved.
- Exit Outlook.
- In Control Panel,
- click on User Accounts
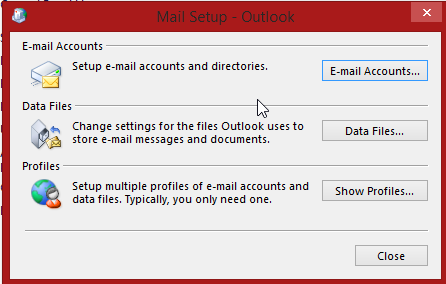
- Then double-click Mail.
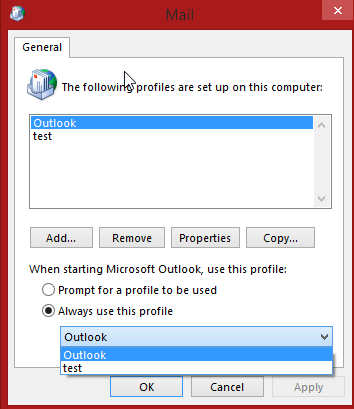
- Click Show Profiles.
- Click Add.
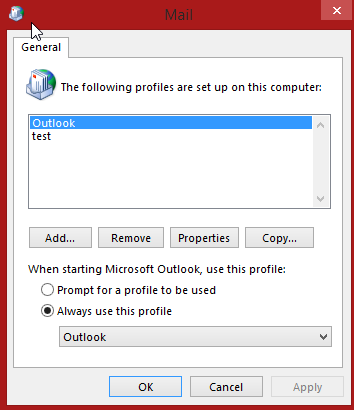
- Type a name for the new profile, and then click OK.
- Fill out the information boxes and then click next.
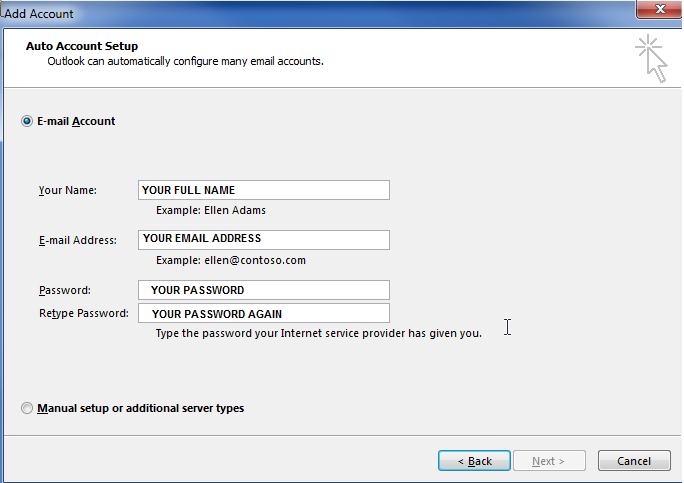
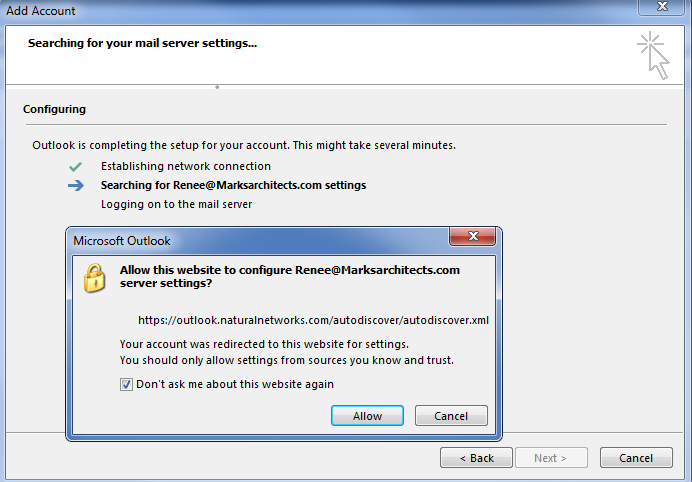
- Click the Don’t ask me about this website again check box and then click Allow after all the lines have a green check mark click next.
- In the mail windows select the new profile in the Always use this profile then click OK twice and then open Outlook, your new account will take a while to download your emails depending on how many you have and your connection speed