Setting Up 2FA/MFA for Your Virtual Office Account
Estimated Reading Time: 1 Minutes|
Step # |
Task |
Screenshot |
|
1 |
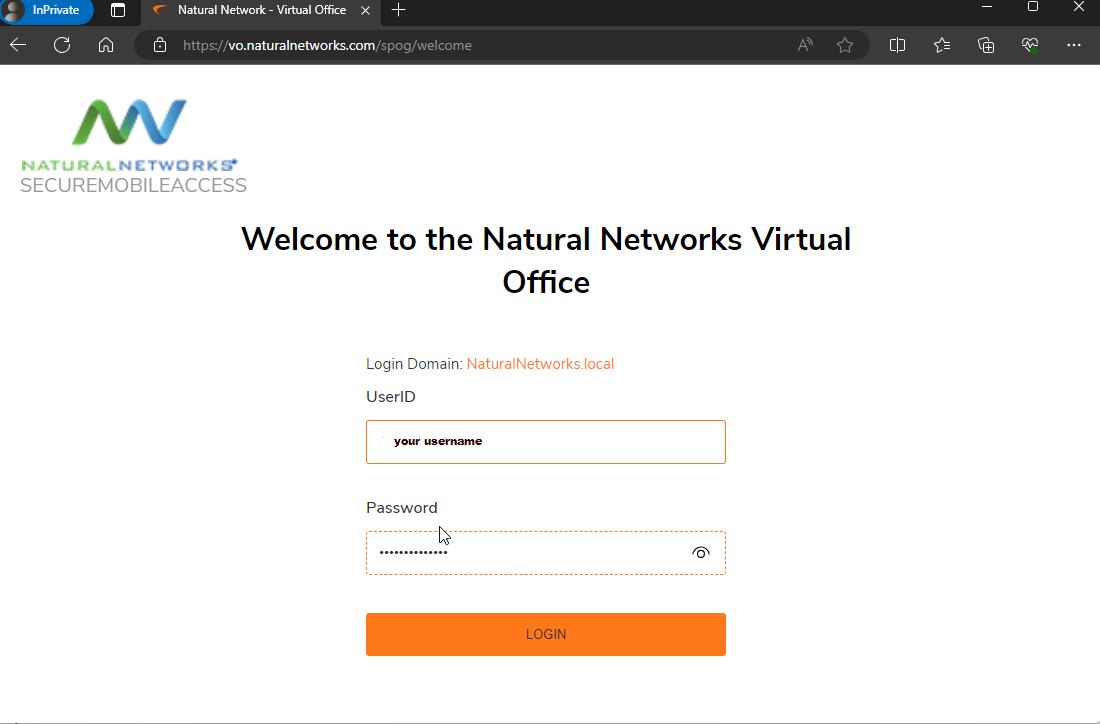
Sign into Virtual Office.
|
|
|
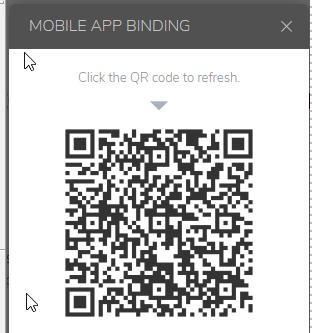
2 |
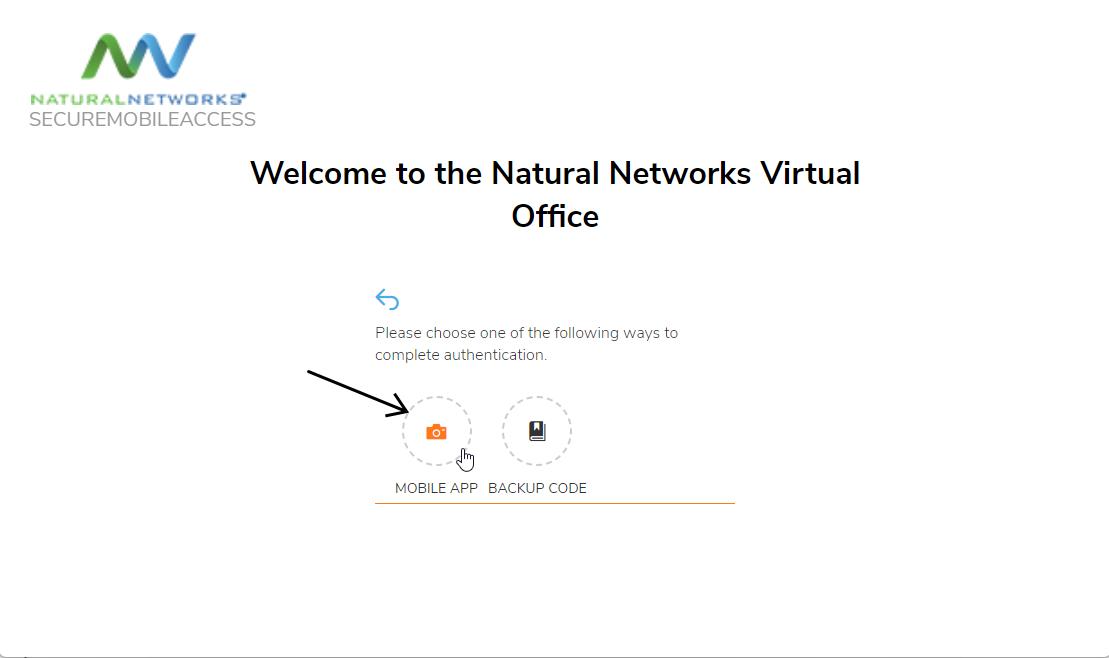
Upon first sign in, you will be presented with the following page - to bind an ‘Authenticator’ to your account. Leave this window open as you continue on with the other steps. |
|
|
3 |
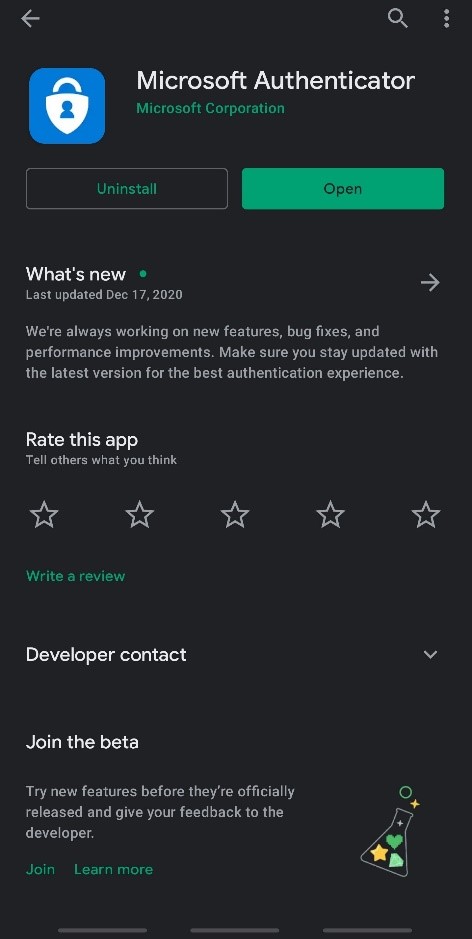
Download the ‘Microsoft Authenticator onto your phone: On an Android phone, go to ‘Google Play Store.’ On an iPhone, go to the ‘App Store.’
Look for one of the two icons to the right |
|
|
4 |
This is the application you are looking to install: |
|
|
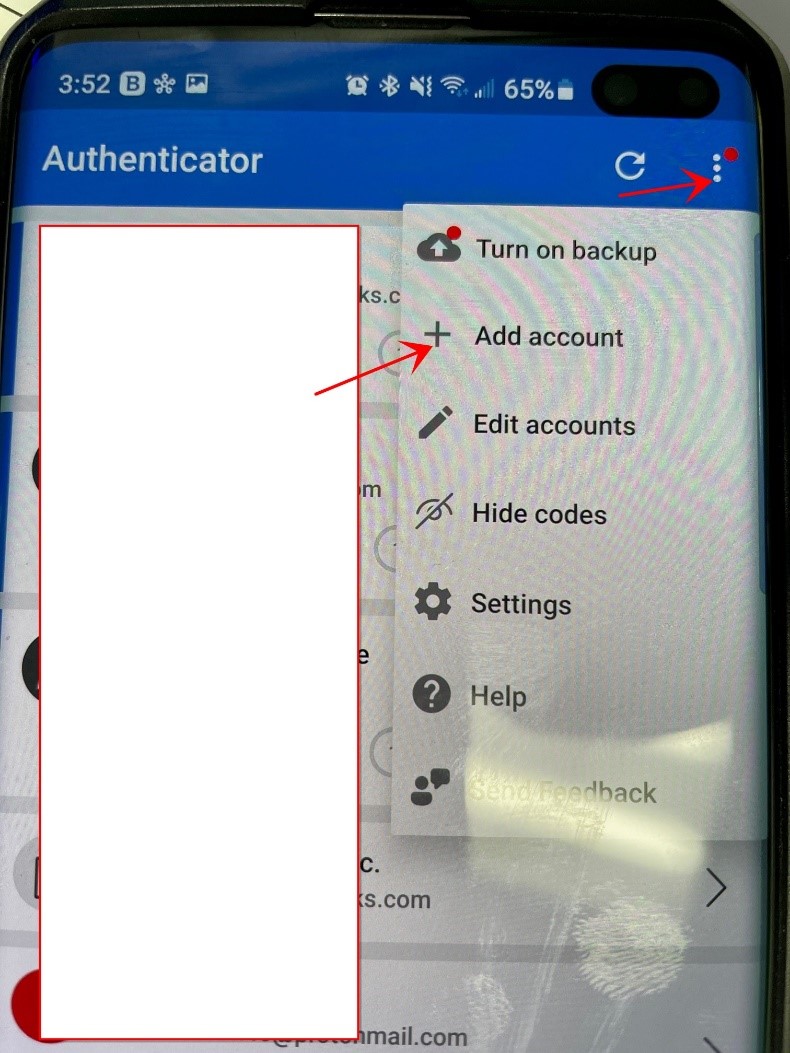
5 |
After installing the application, go to the top right corner and look for 3 dots. Click it to open a menu. From there, select ‘+ Add account’ *iPhone users: There will instead be a ‘+’ icon in the top right. |
|
|
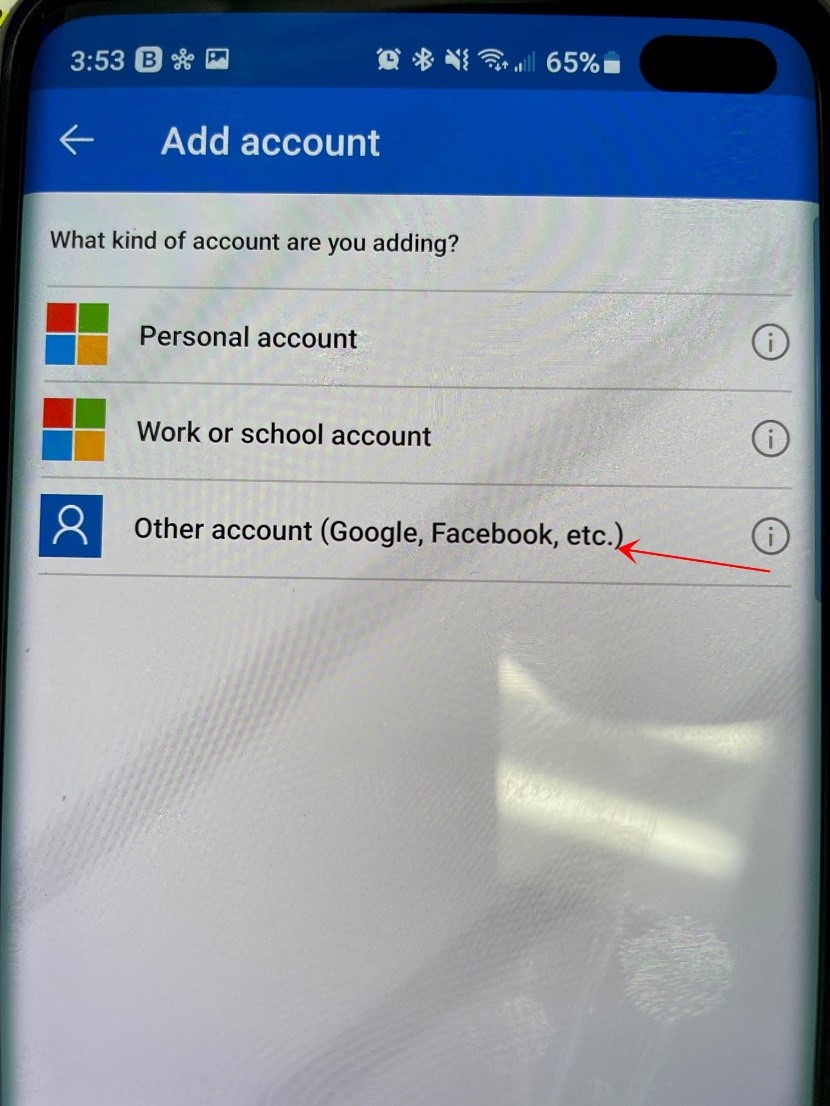
6 |
Click on ‘Other’ for the type of account that you are adding. The app is then going to try and use your camera so that it can take a photo of the code and add your Virtual Office account. Give it permissions to access the camera. |
|
|
7 |
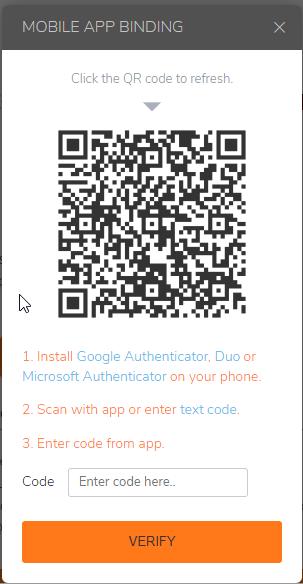
Use your phone to scan this QR code on the web page that was left open on your computer. |
|
|
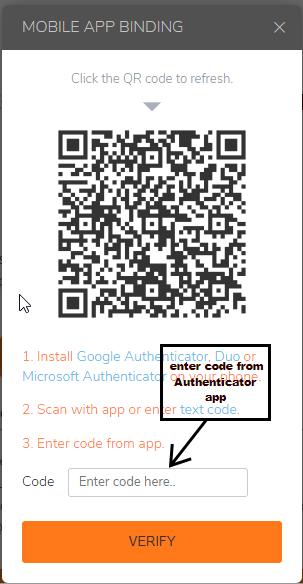
8 |
After scanning it will begin to generate 6-digit codes. Enter one of those code here and click ‘Login.’ |
|
|
9 |
Now, when you login to Virtual Office, you will be asked for one of these 6-digit codes. You will need to open the Microsoft Authenticator app on your phone that you installed and enter it before you can sign in.
|
|
 to configure your Cell phones Microsoft Authenticator