How To View Your Security Cameras From iOS or Android
For Android
|
Step#
|
Task |
Step(s) and / or Screenshot |
|
1
|
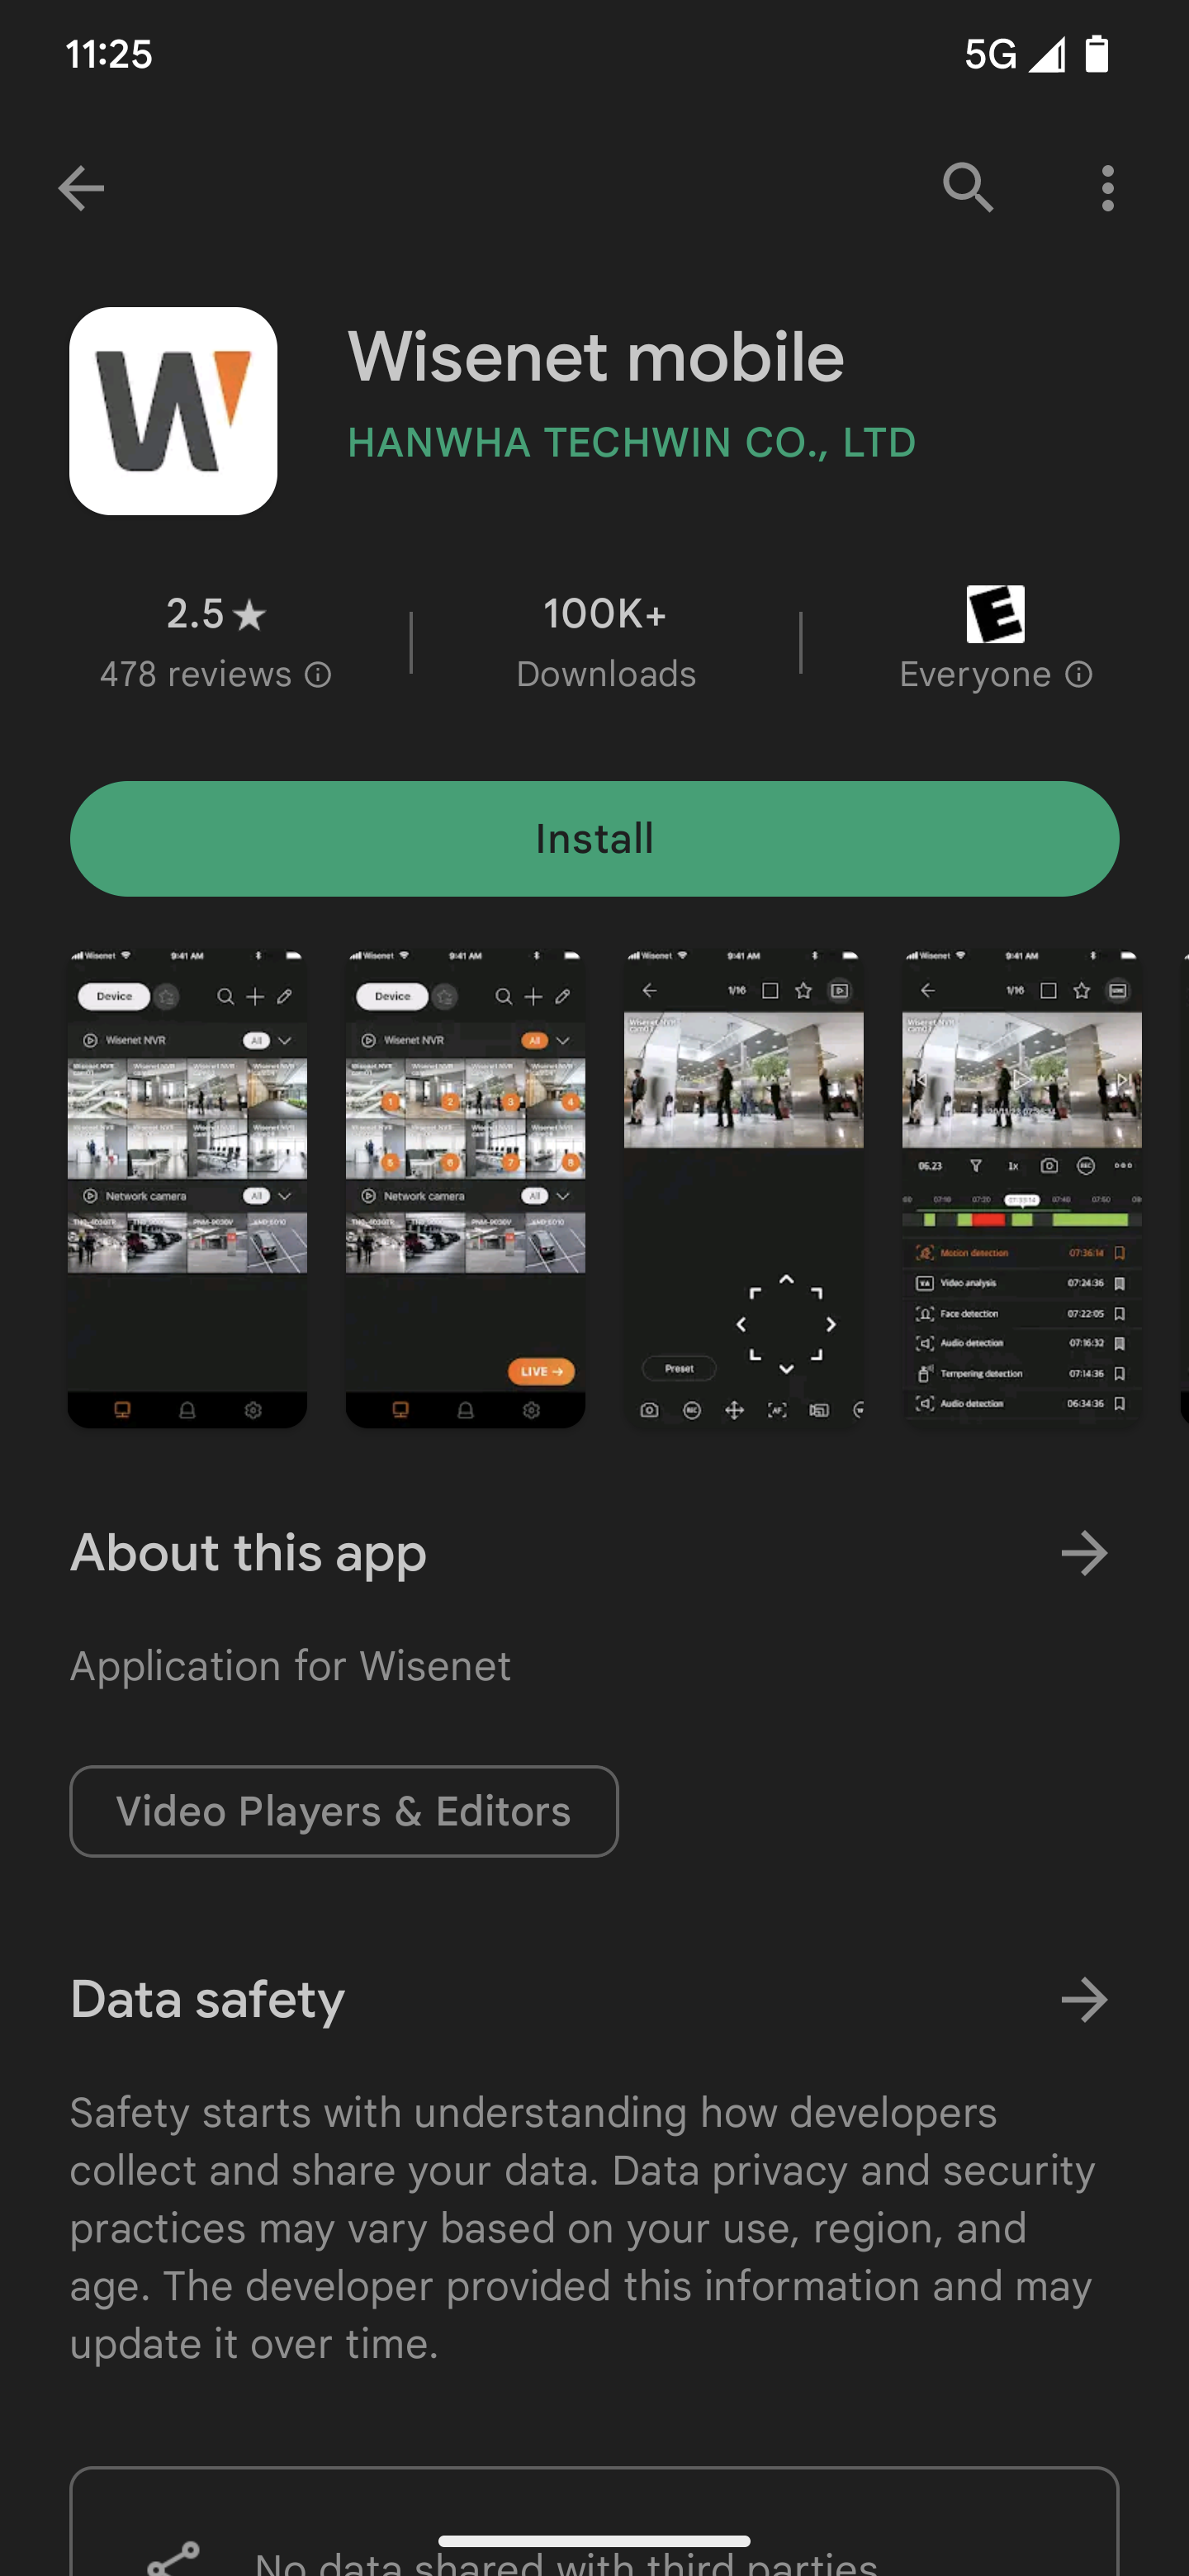
Open the Google Playstore App and search for the Wisenet Mobile app in the app store.
|
|
| 2 |
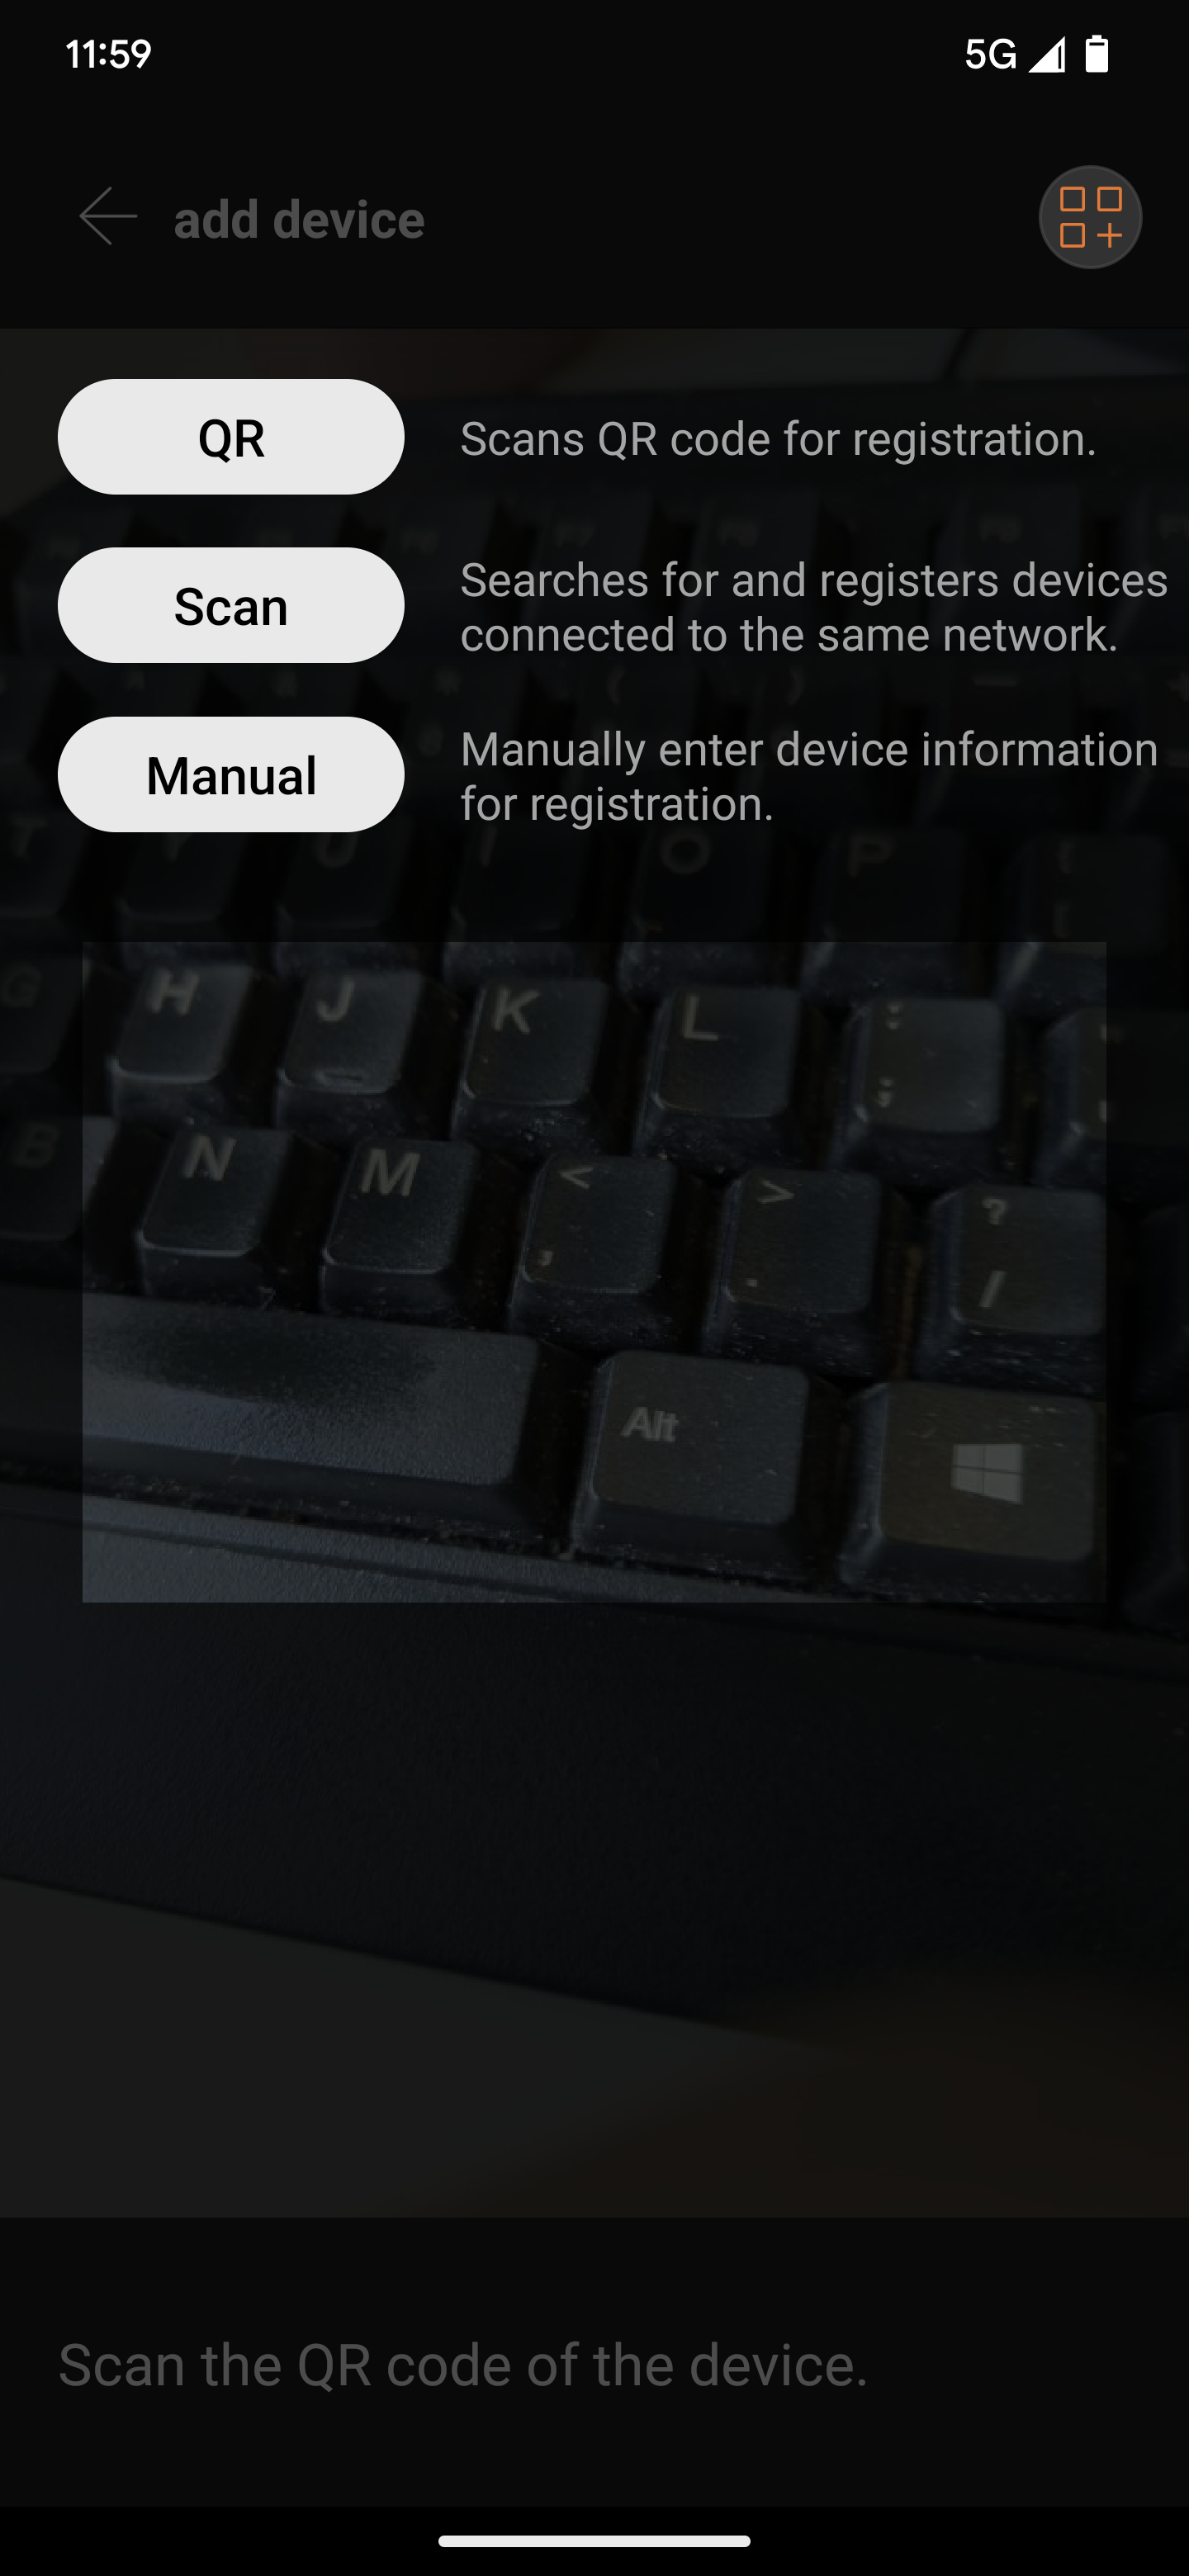
Accept the intial prompts to share statstics and data with Wisenet Techwin.
When prompted to register the device, choose the Manual button.
|
|
| 3 |
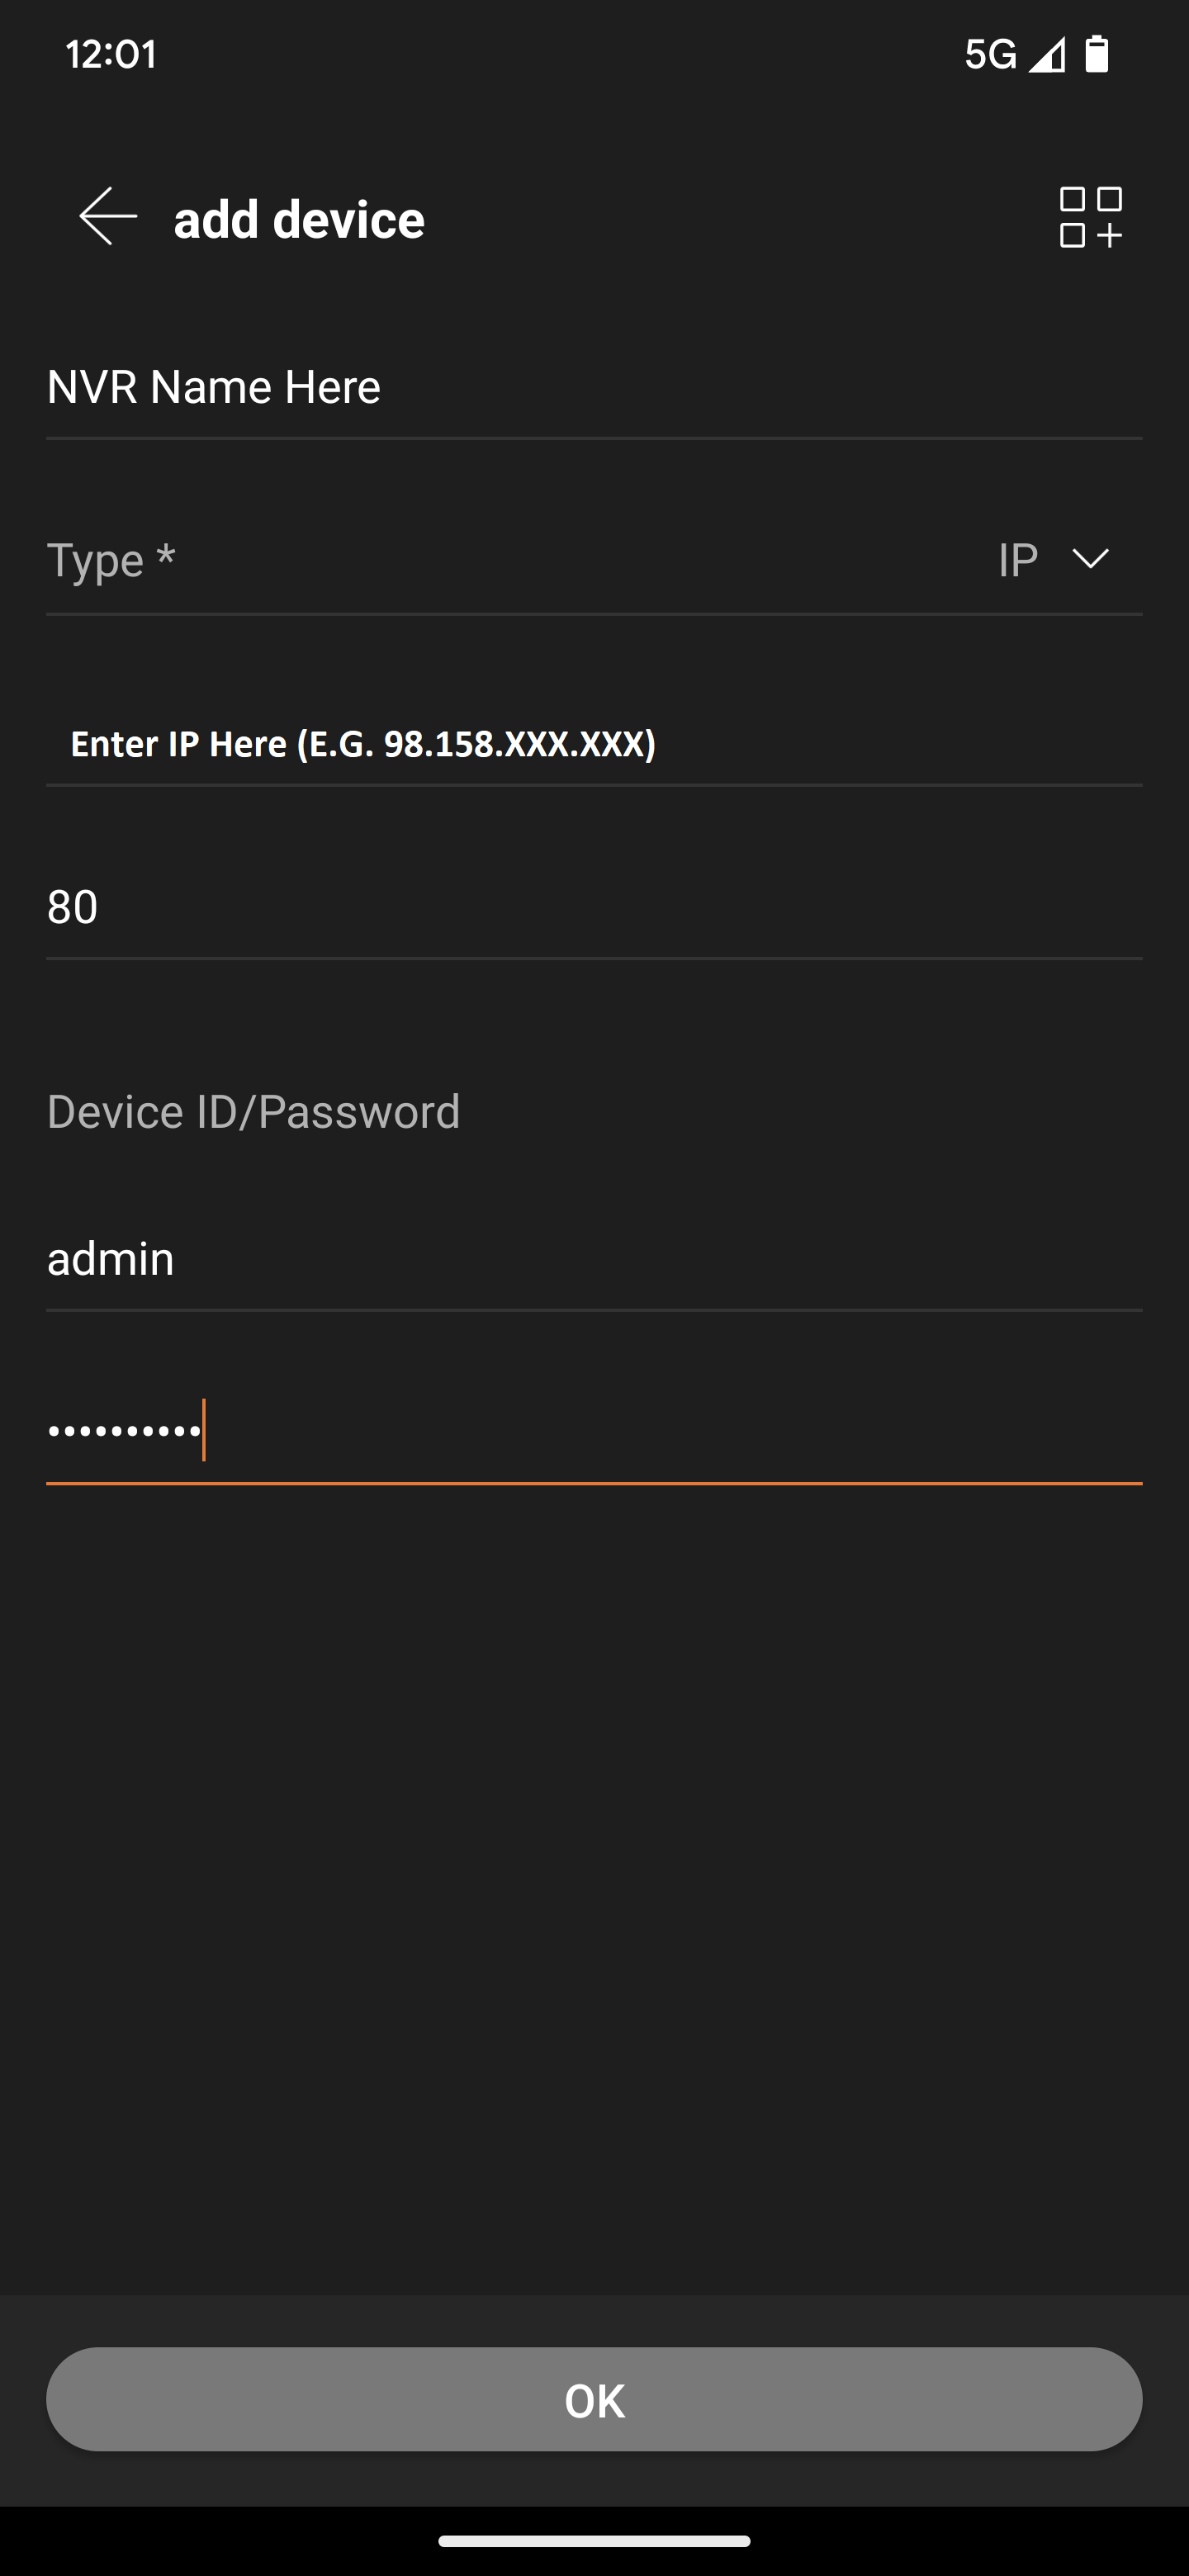
Enter the following settings for the NVR you are connecting to.
Name: (Friendly Name to remember the NVR by)
Type: IP
IP: (Enter NVR’s IP Address)
Port: 80 (unless specified)
Device ID/Password:
ID: NVR username
PW: NVR password
Then choose OK at the bottom to connect.
|
 |
| 4 |
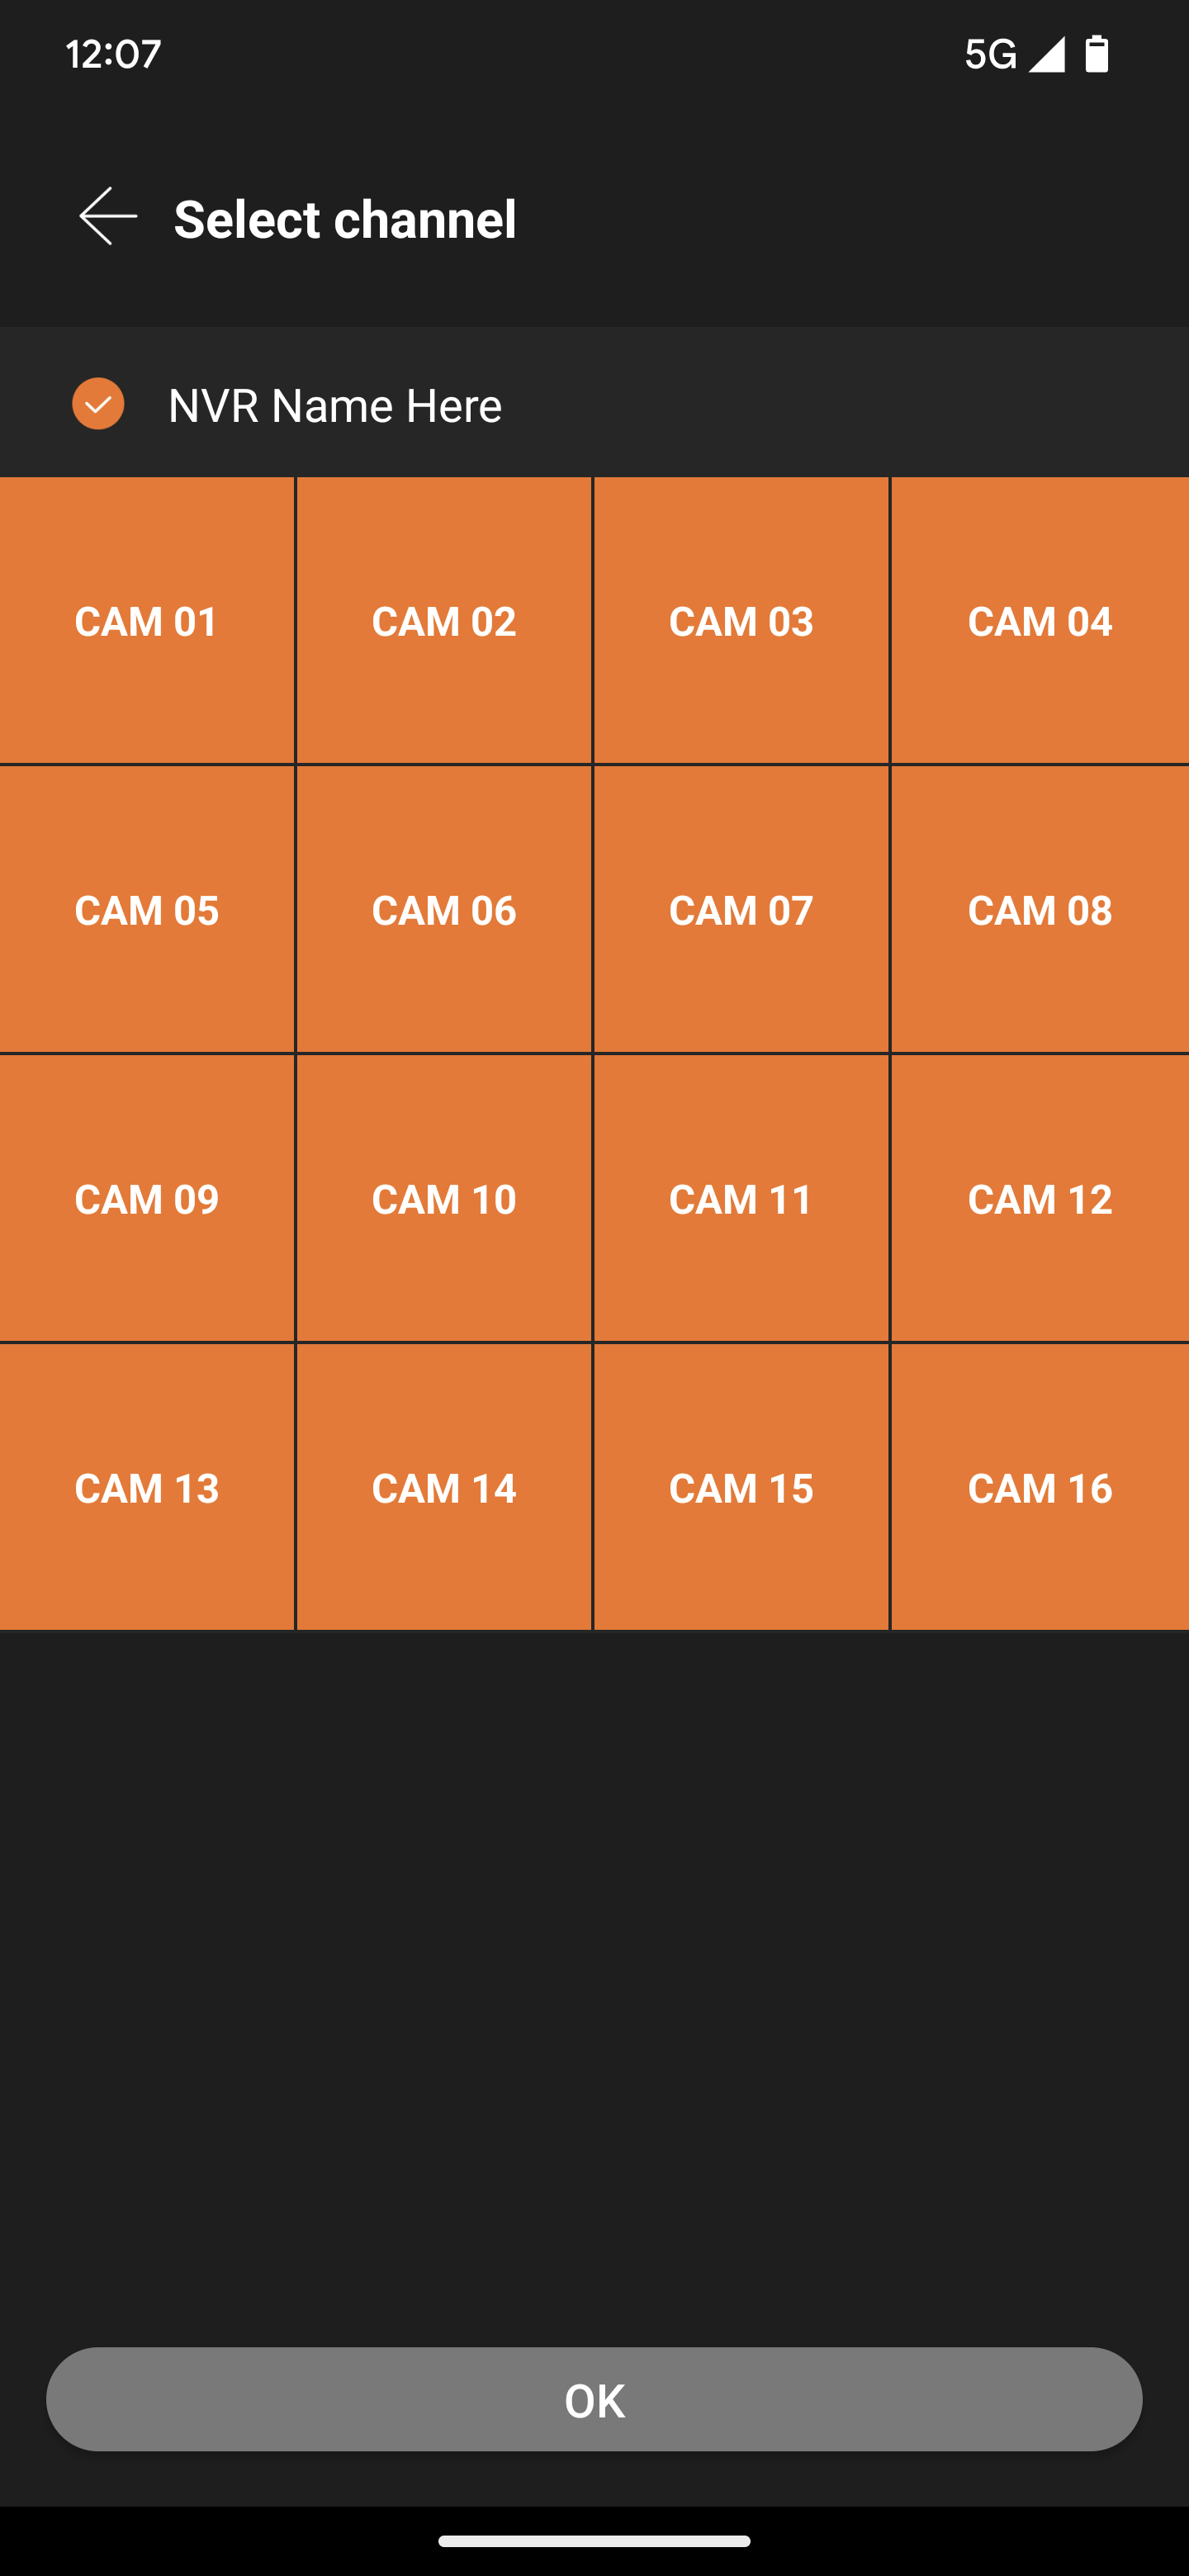
Upon succesfull connection you are presented with a grid view of detected camera channels.
Press the OK button below.
|
|
| 5 |
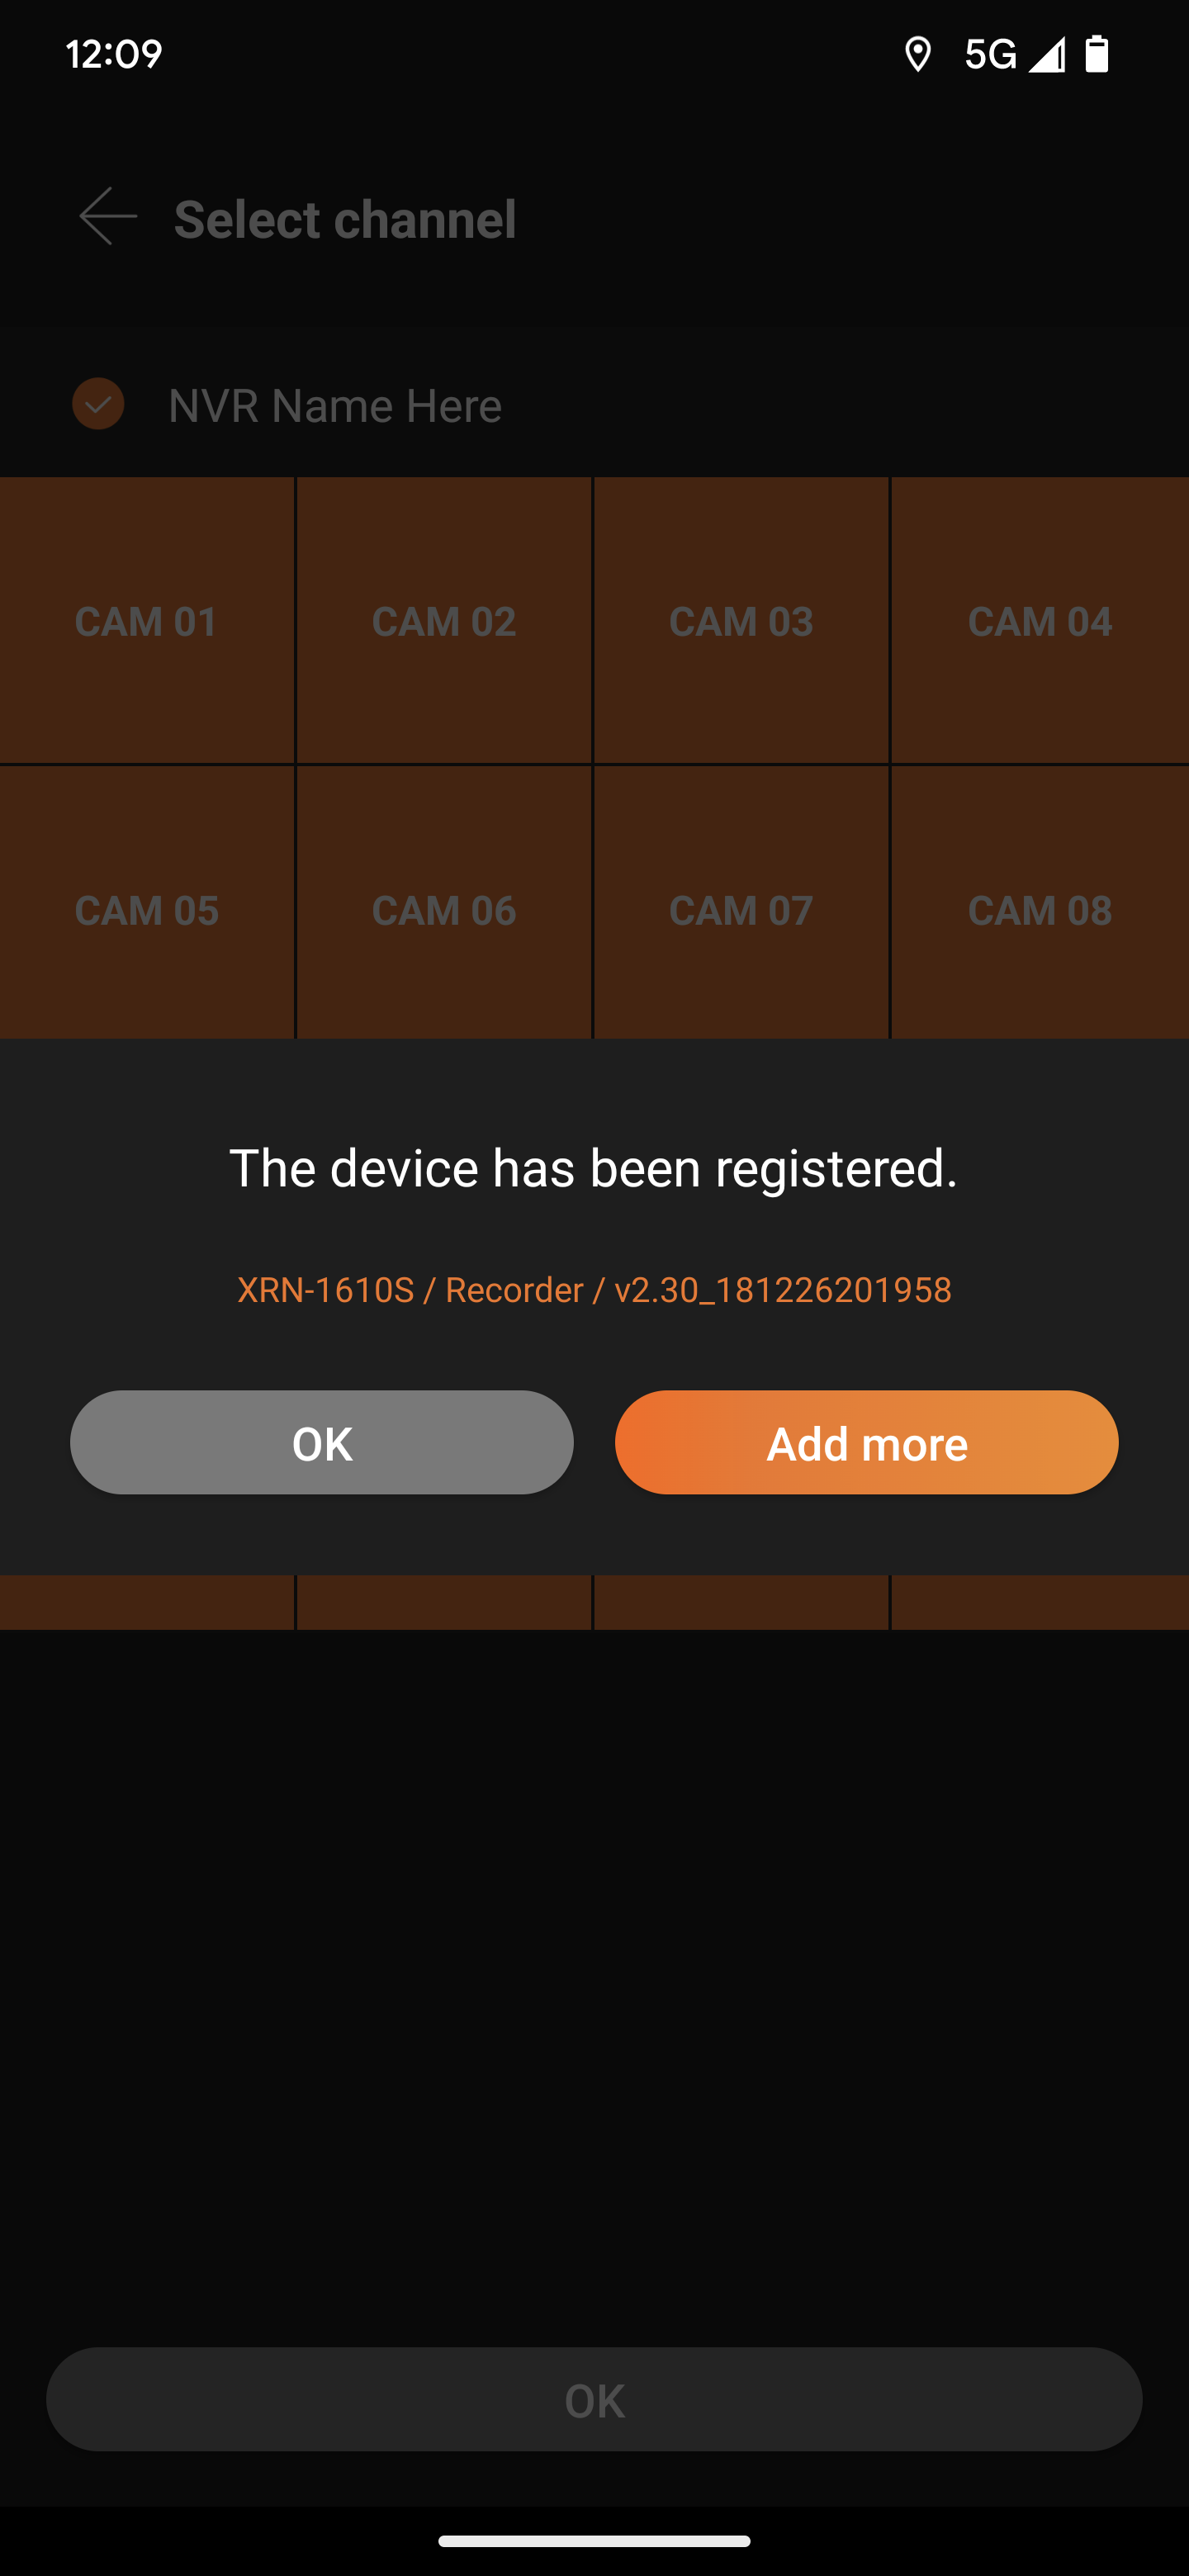
You will be presented with the message the device has been registered.
Press OK
|
|
| 6 |
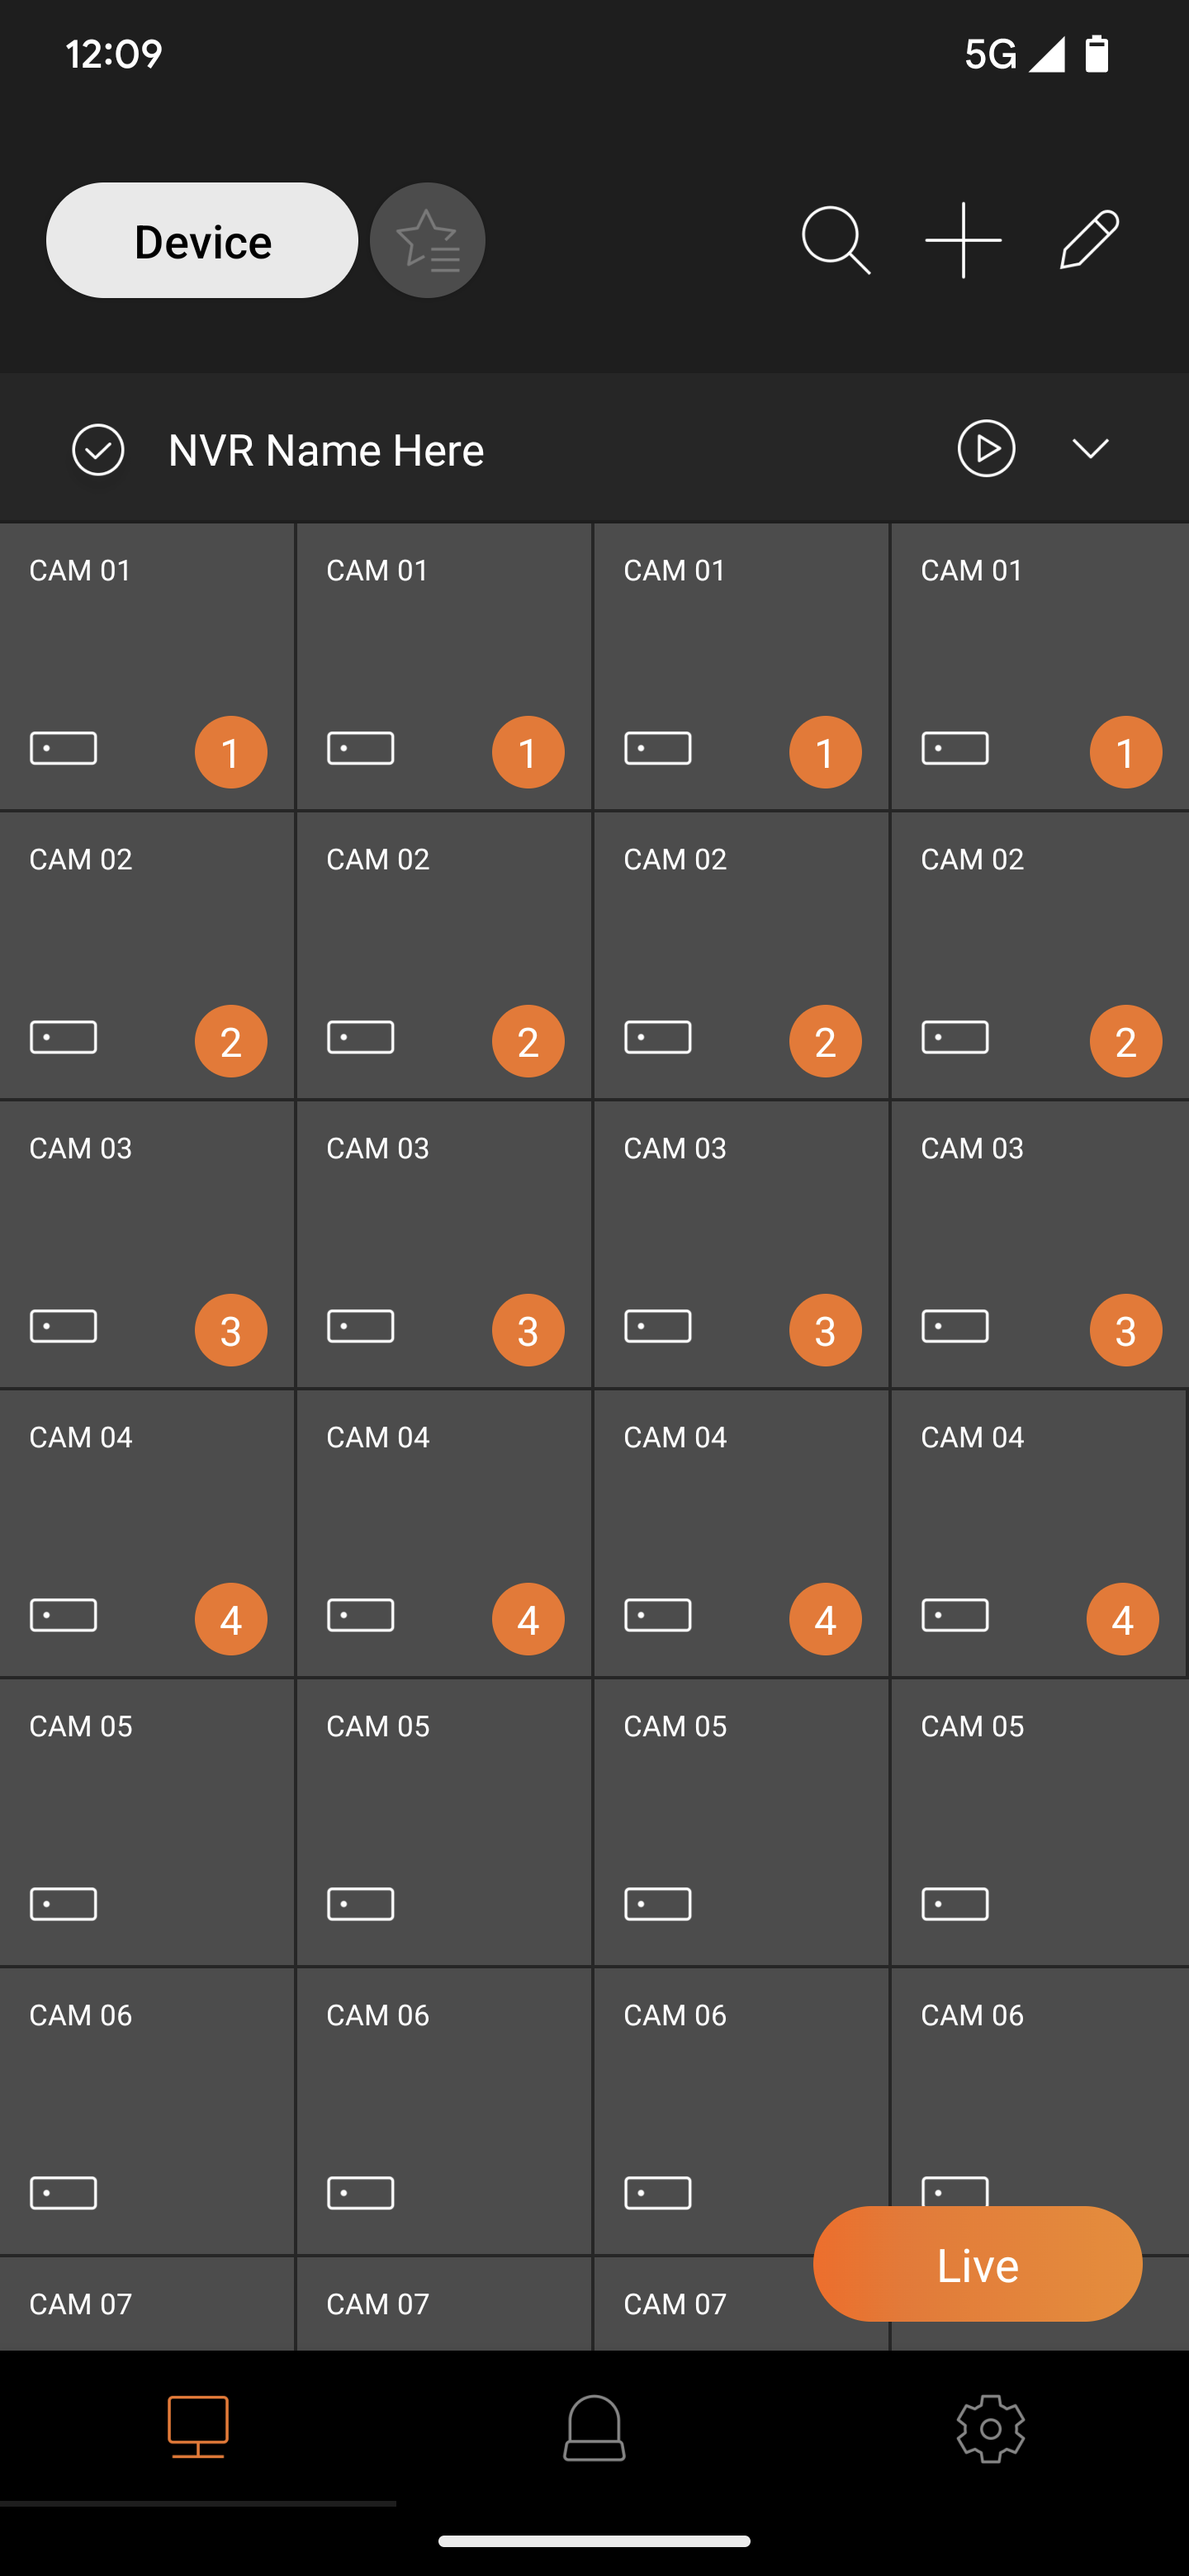
You will be presented with a grid view of all avaialble channels.
Tap each channel to activate the connected camera to view.
Select Live at the bottom
|
|
| 7 |
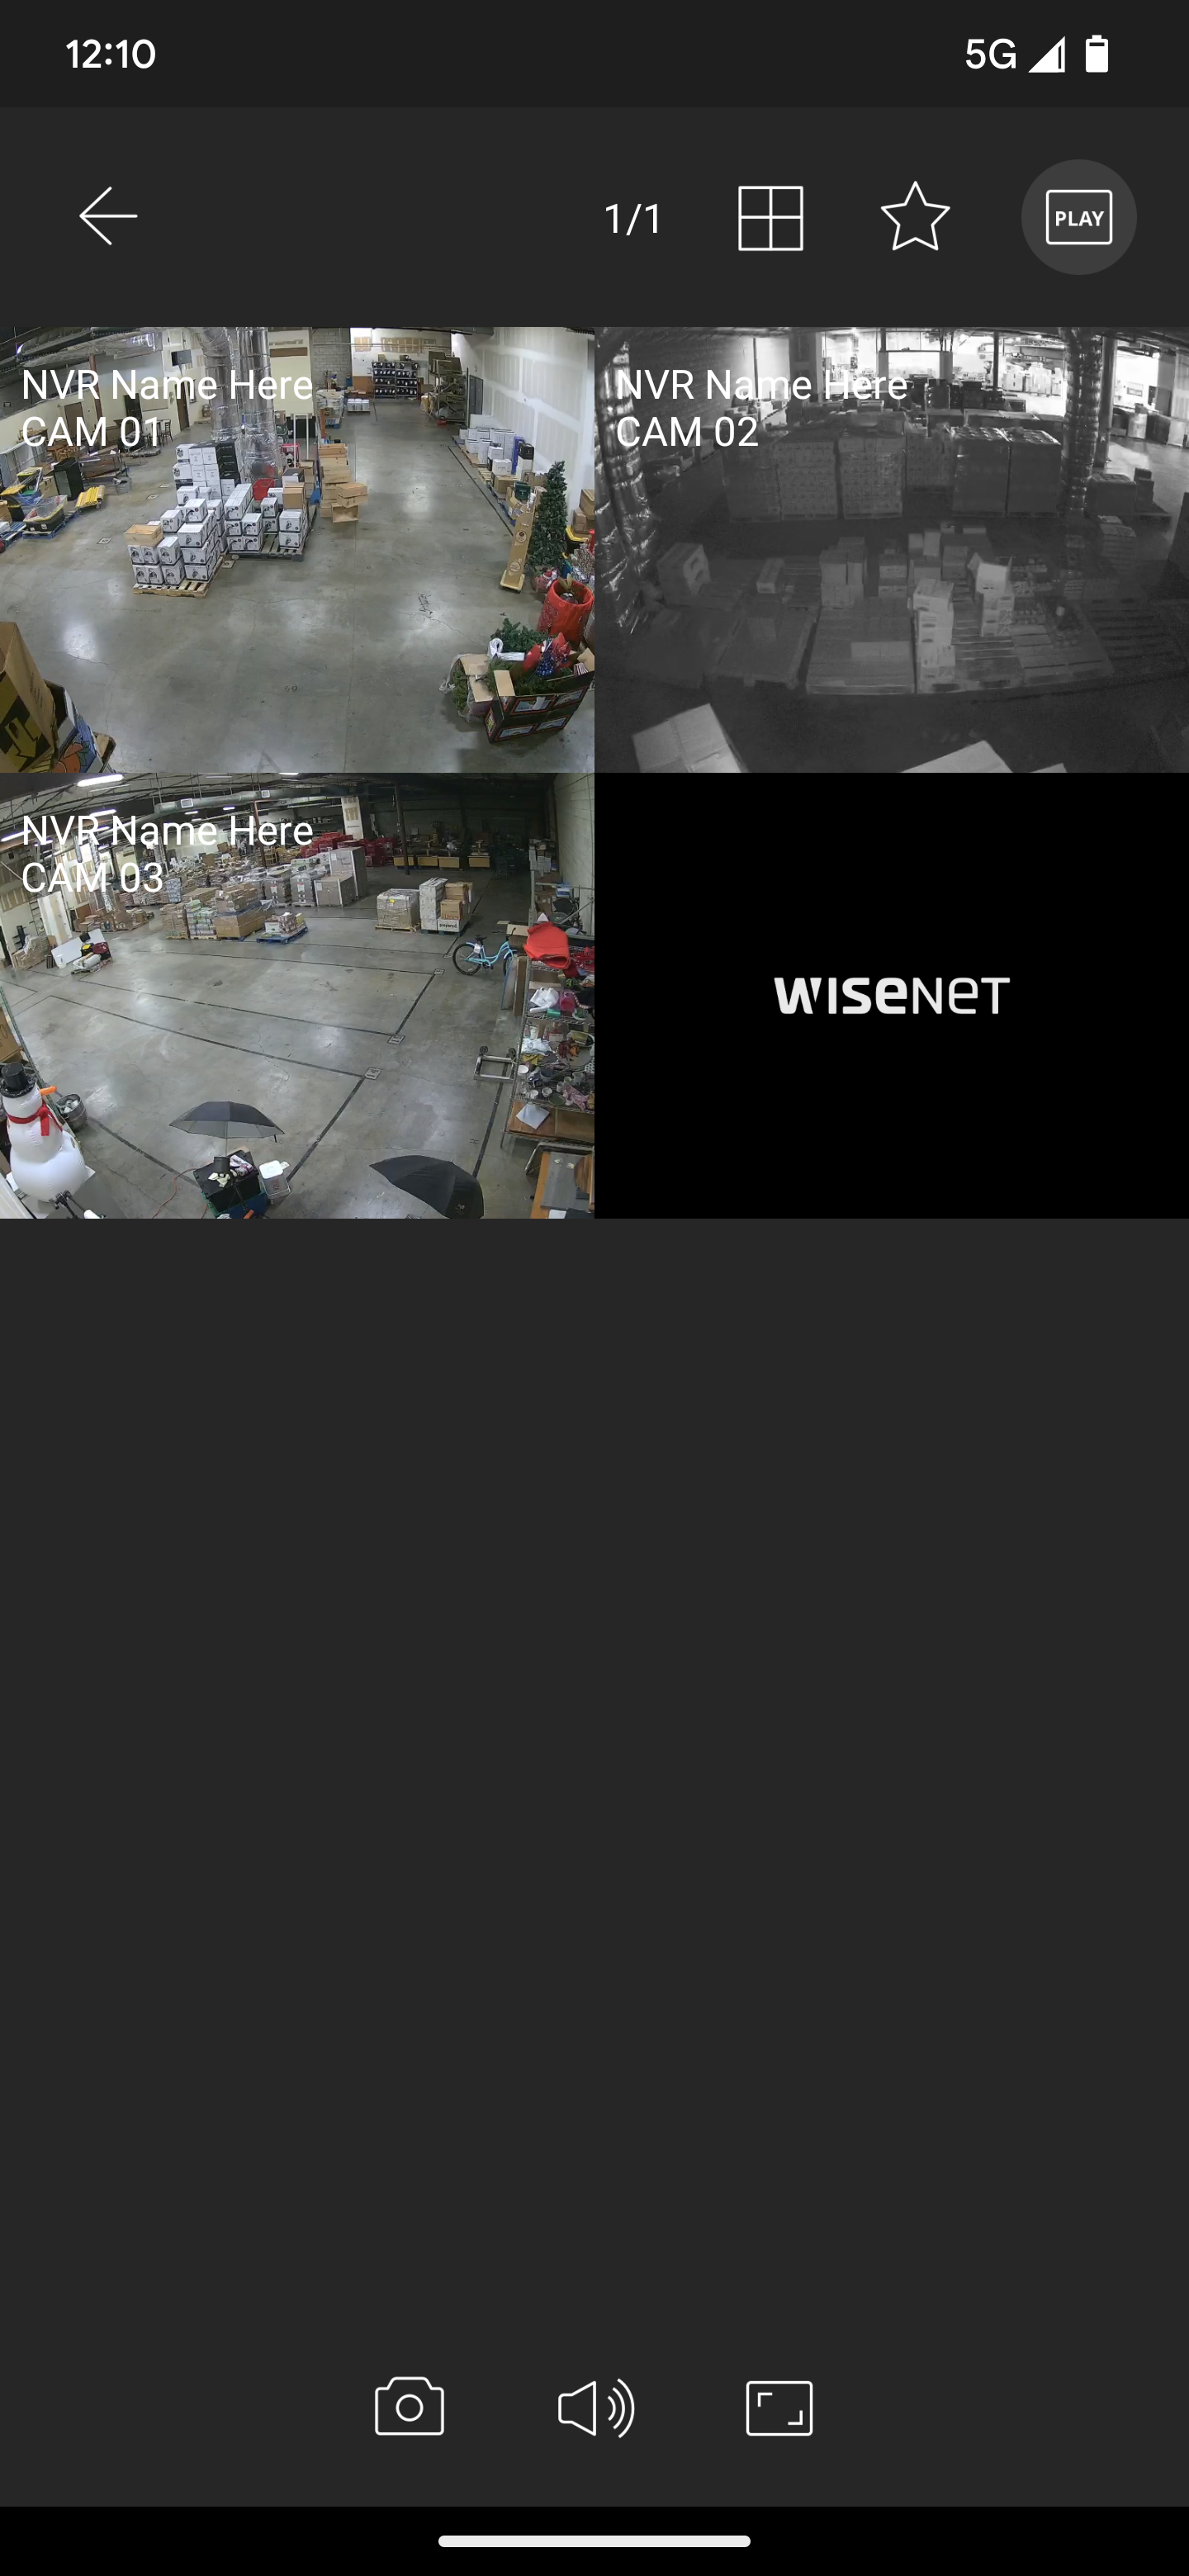
You are presented with the live view of selected cameras.
Choose the Grid button to change the view scale of the grid to see more cameras.
Select the Play button at the top right corner to access the recorded video’s on the NVR.
|
 |
| 8 |
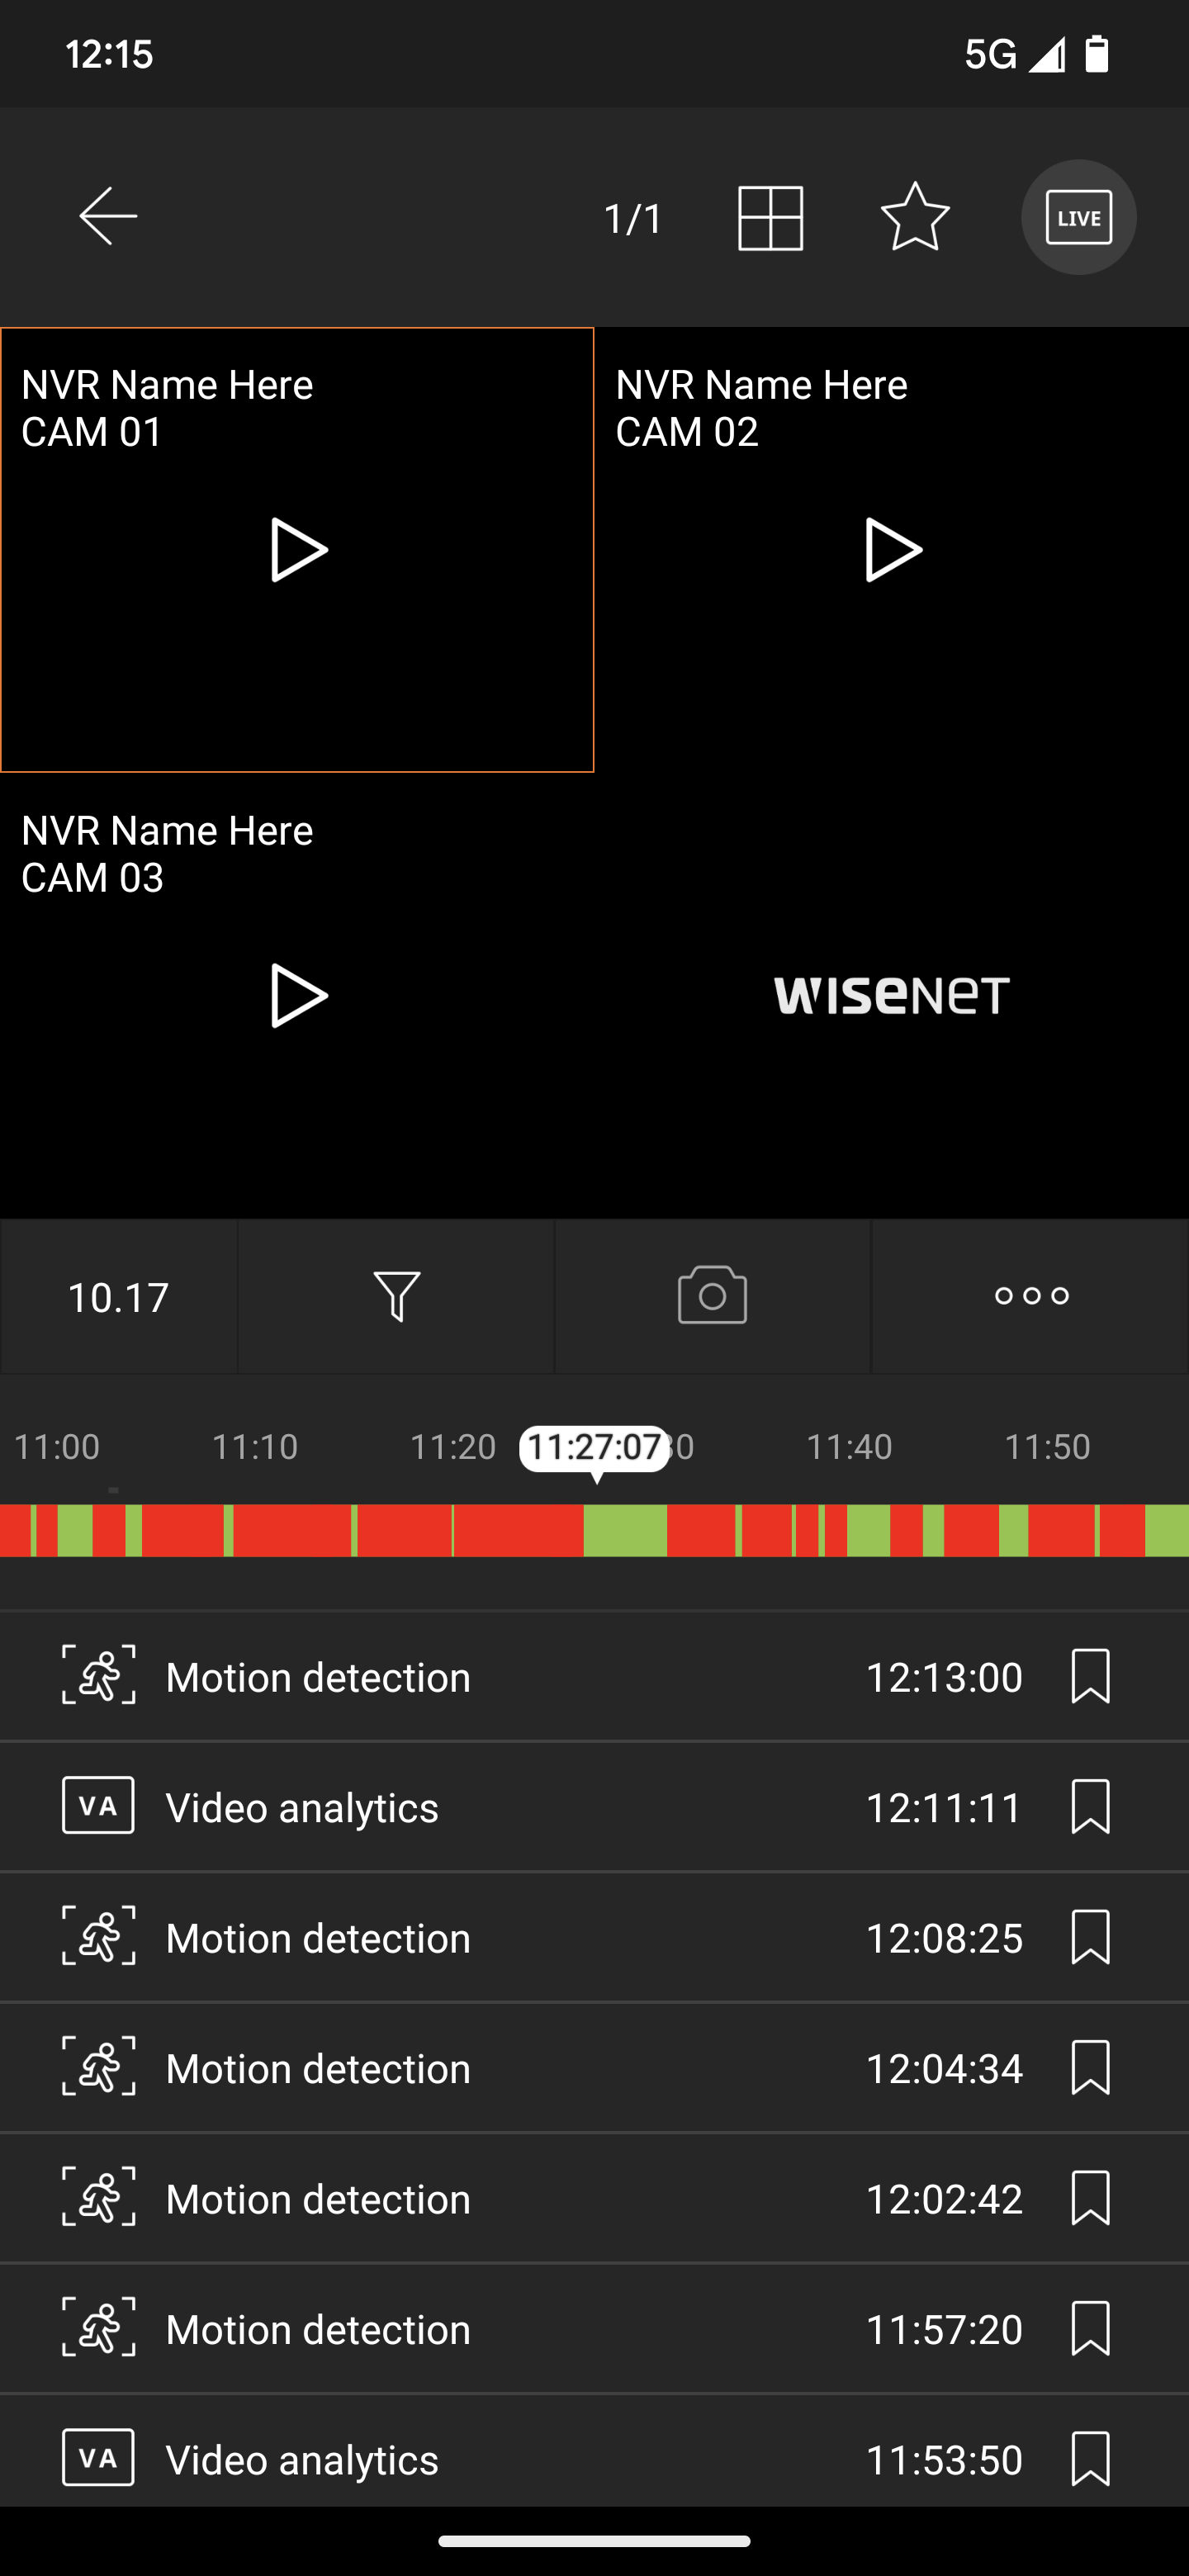
Use the Timeline and date options below the camera viewports to find and view previous recorded events.
Press the Live button at the top right corner to go return to Live camera feed.
|
|
For iOS
|
Step#
|
Task |
Step(s) and / or Screenshot |
| 1 |
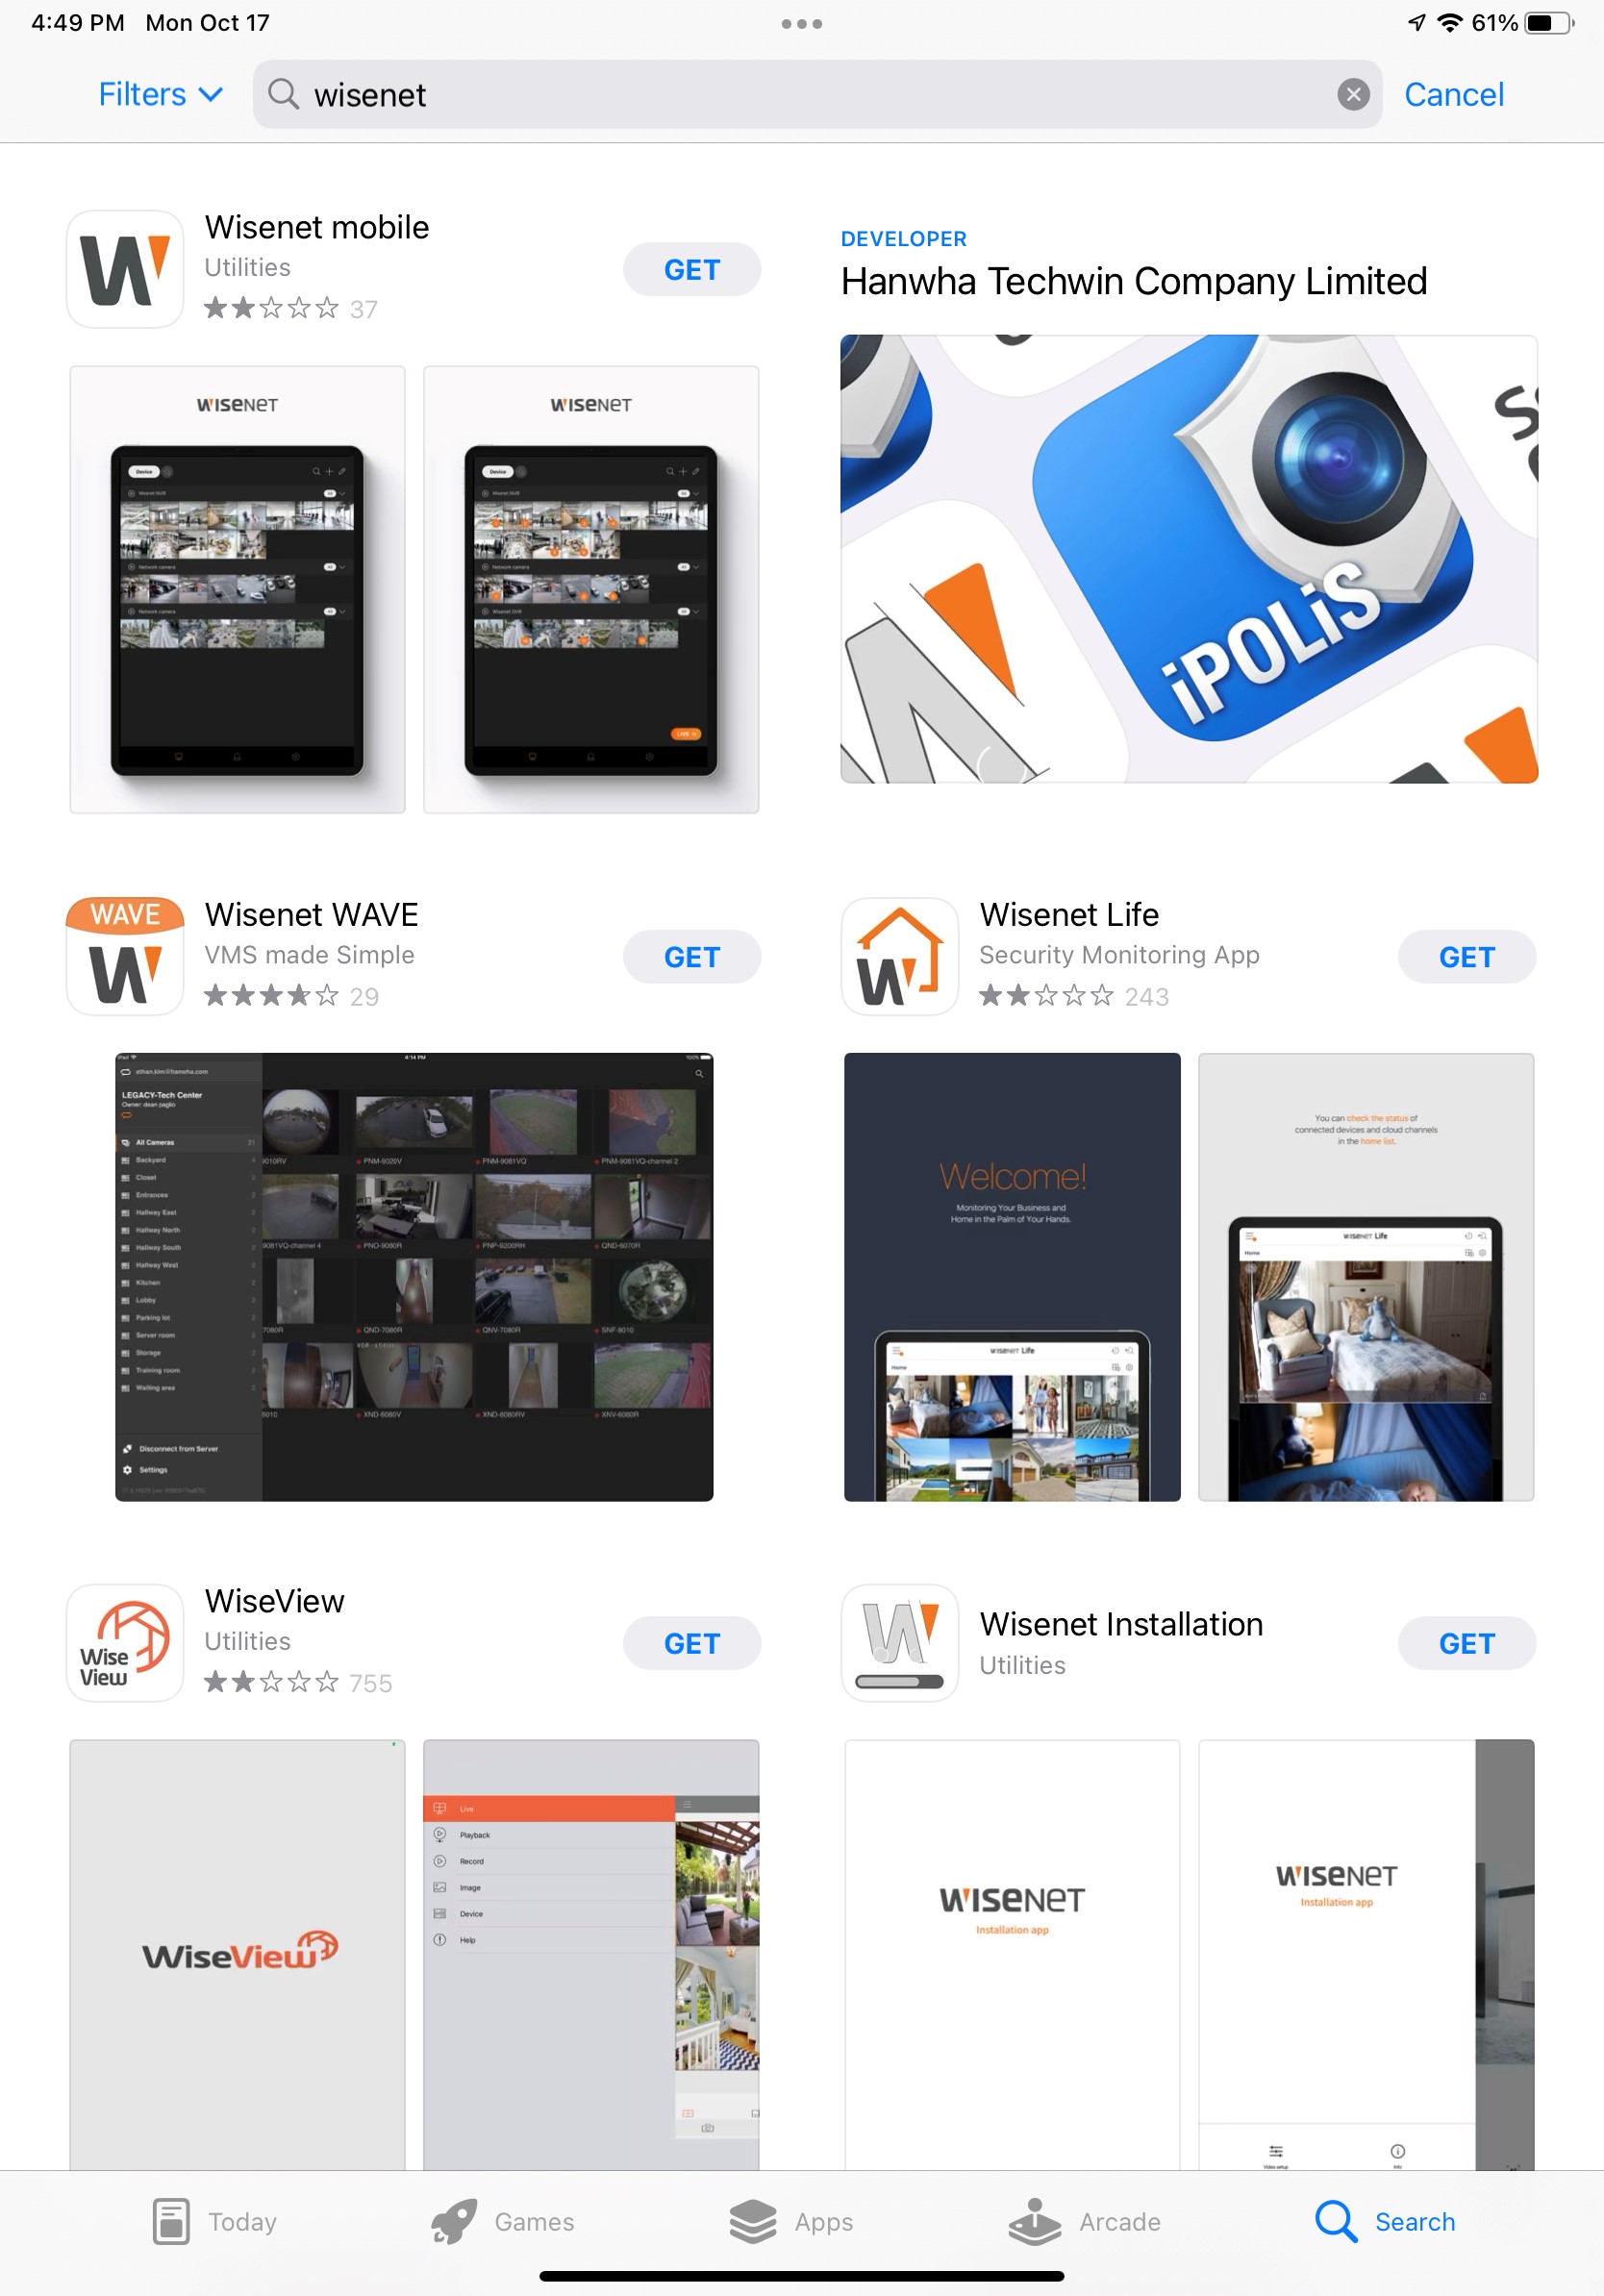
Open the Apple App Store
and search for the Wisenet Mobile app
in the app store.
Choose get from the app store to begin the download and installation to your mobile device.
|
|
| 2 |
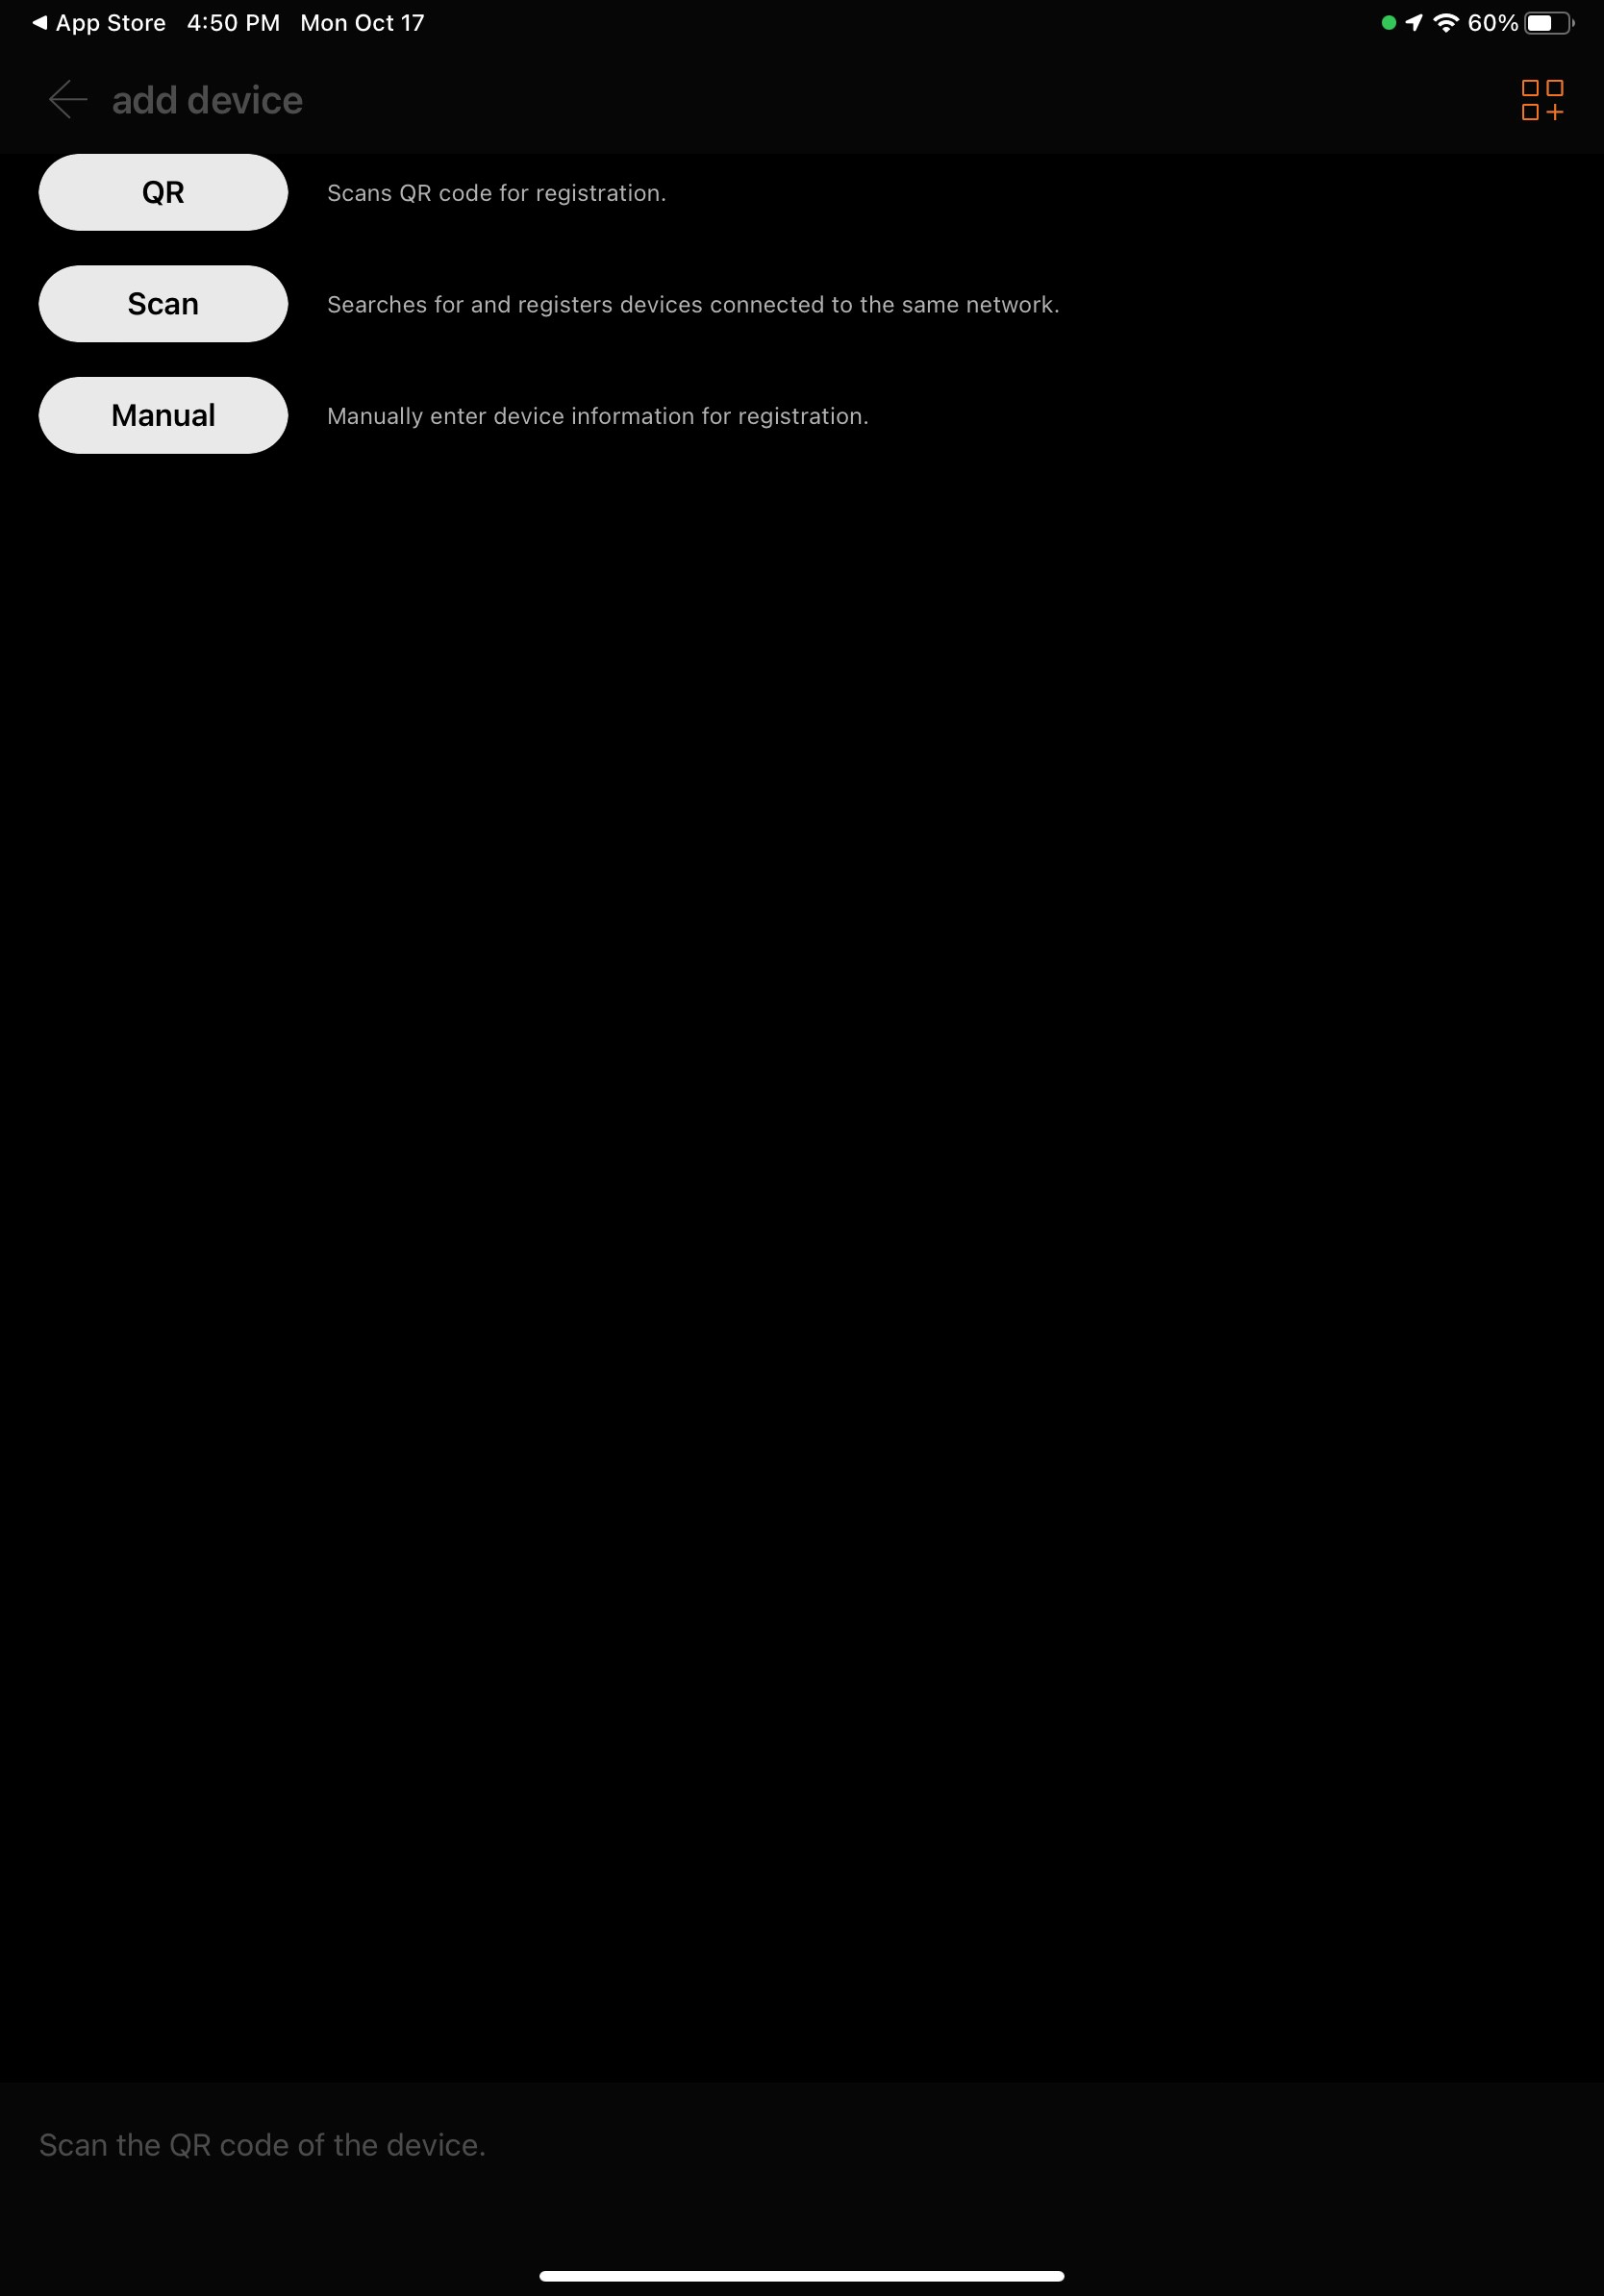
Accept the intial prompts to share statstics and data with Wisenet Techwin.
When prompted to register the device, choose the Manual button.
|
|
| 3 |
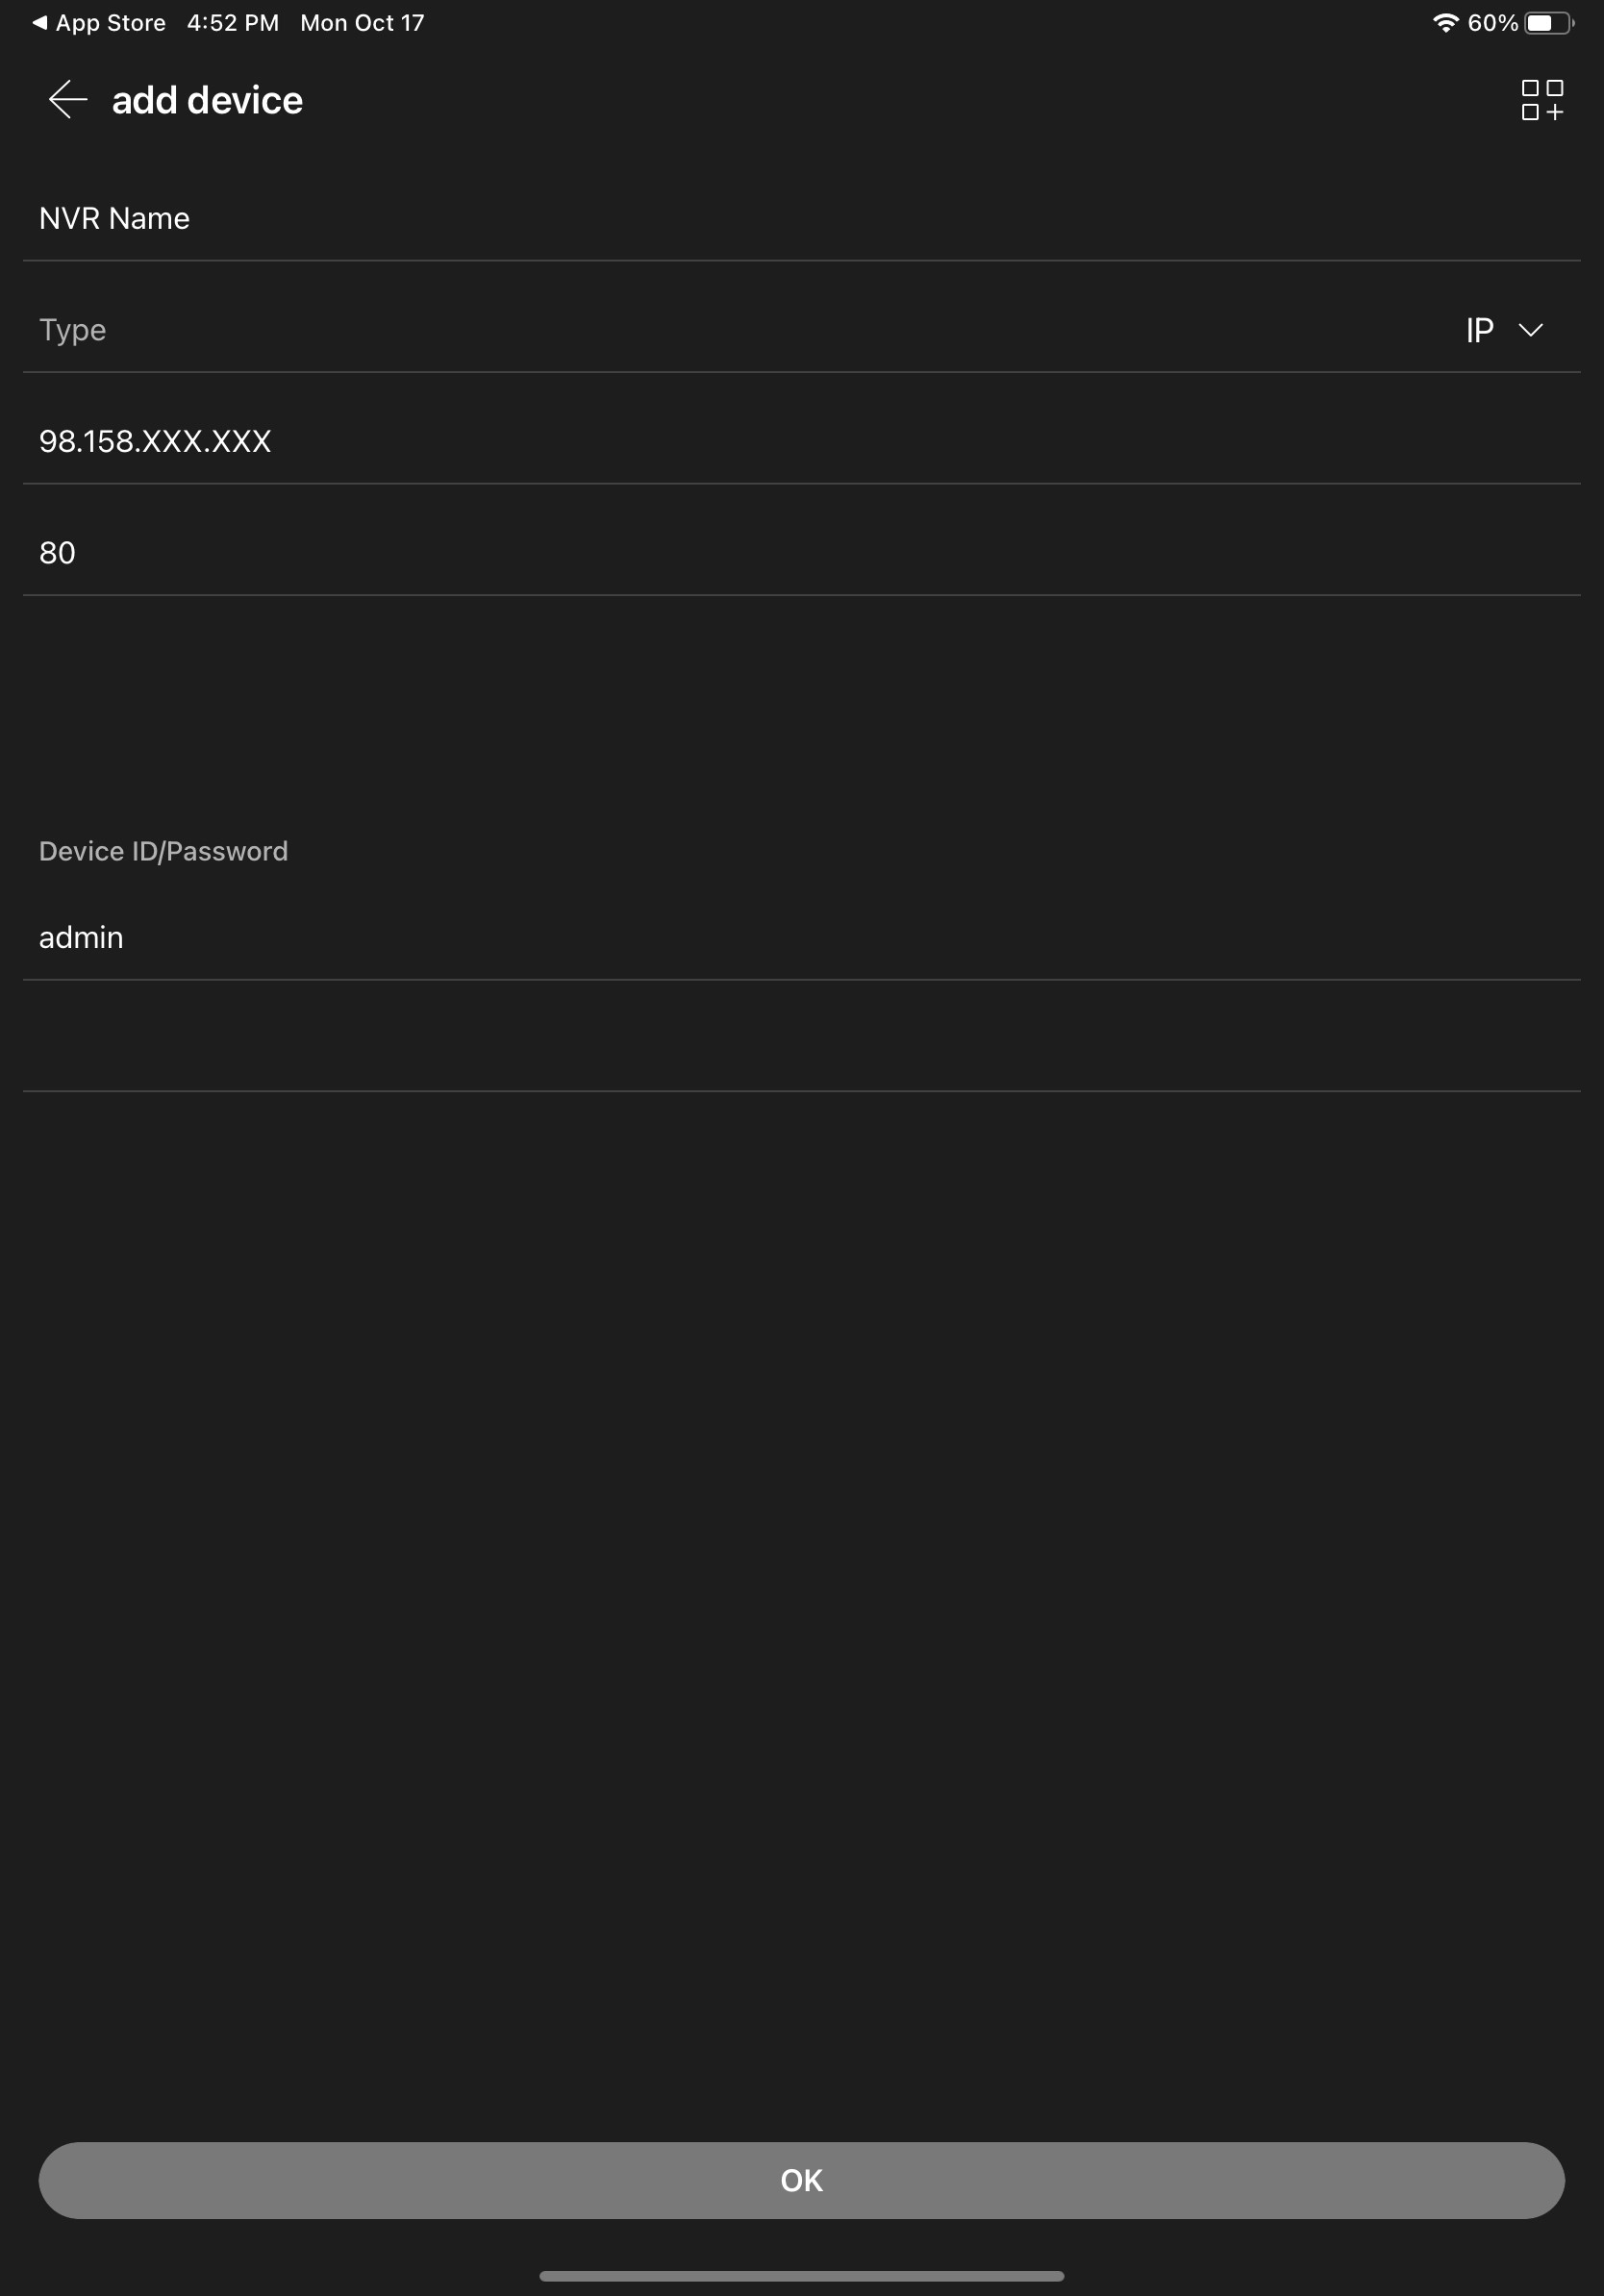
Enter the following settings for the NVR you are connecting to.
Name: (Friendly Name to remember the NVR by)
Type: IP
IP: (Enter NVR’s IP Address)
Port: 80 (unless specified)
Device ID/Password:
ID: NVR username
PW: NVR password
Then choose OK at the bottom to connect.
|
|
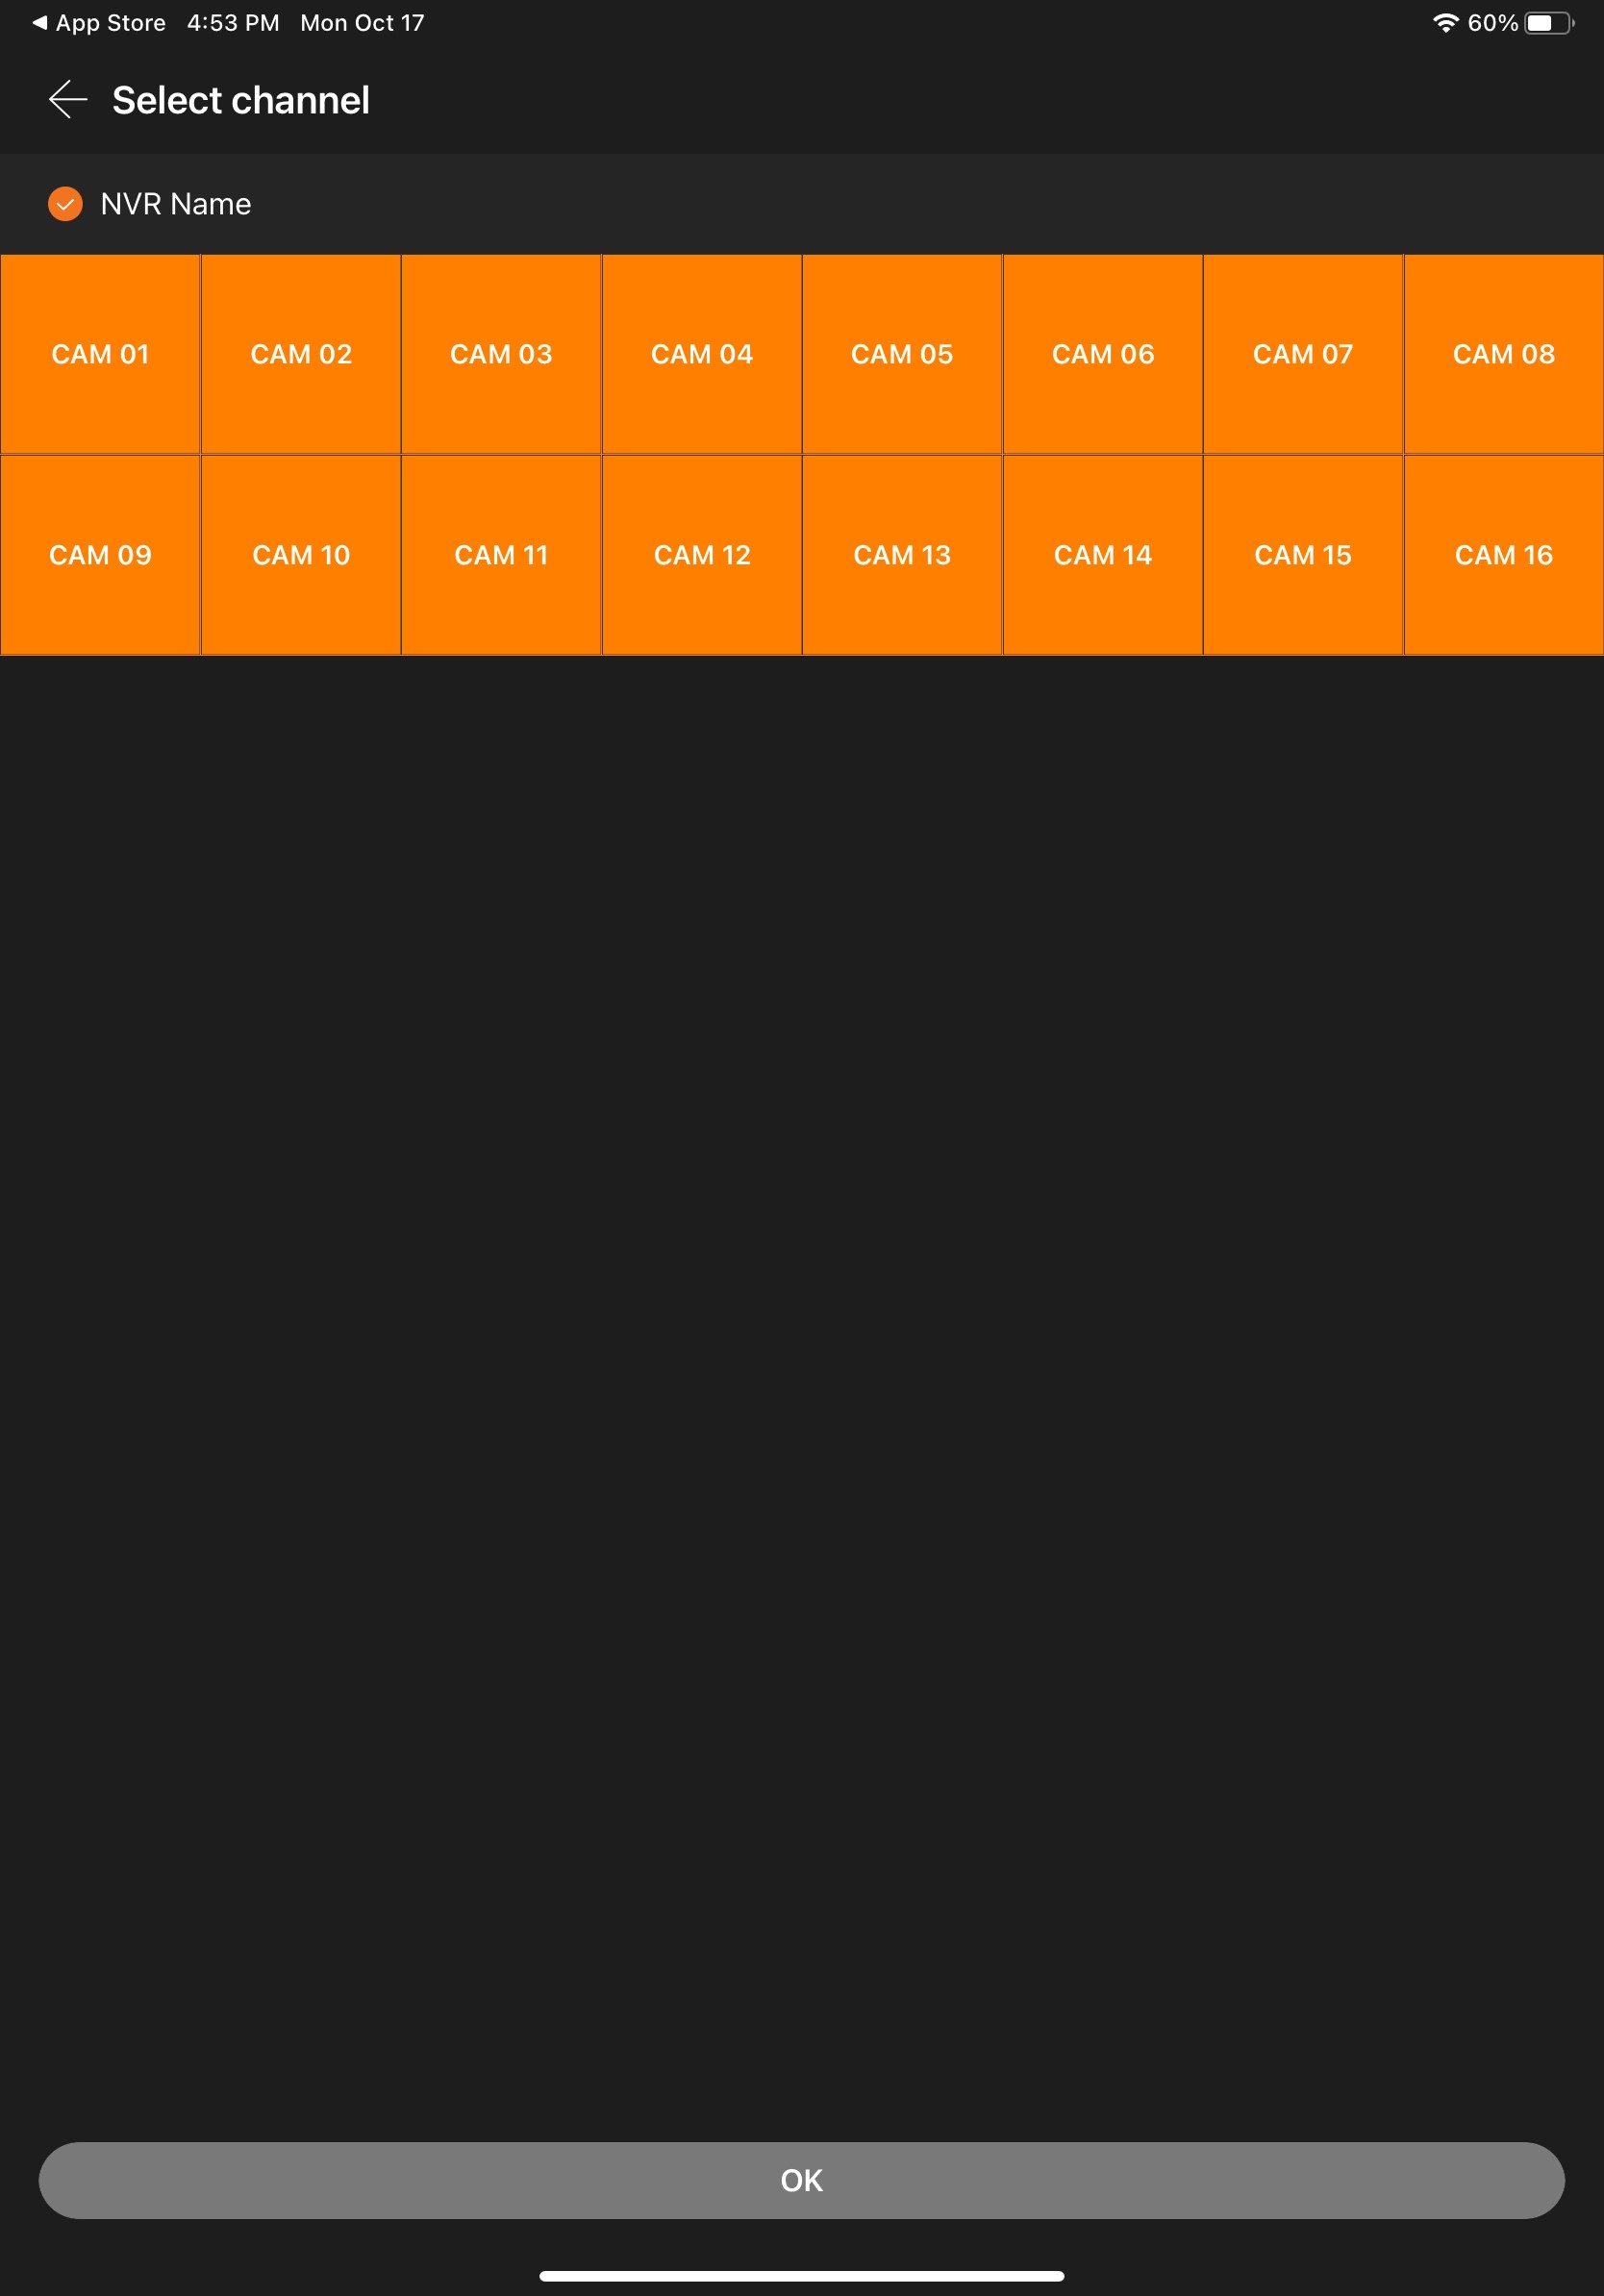
| 4 |
Upon succesfull connection you are presented with a grid view of detected camera channels.
Press the OK button below.
You will be prompted that the device has succesfully registered. You can press OK to proceed.
|
|
| 5 |
You will be presented with a grid view of all avaialble channels.
Tap each channel to activate the connected camera to view.
Select Live at the bottom
|
|
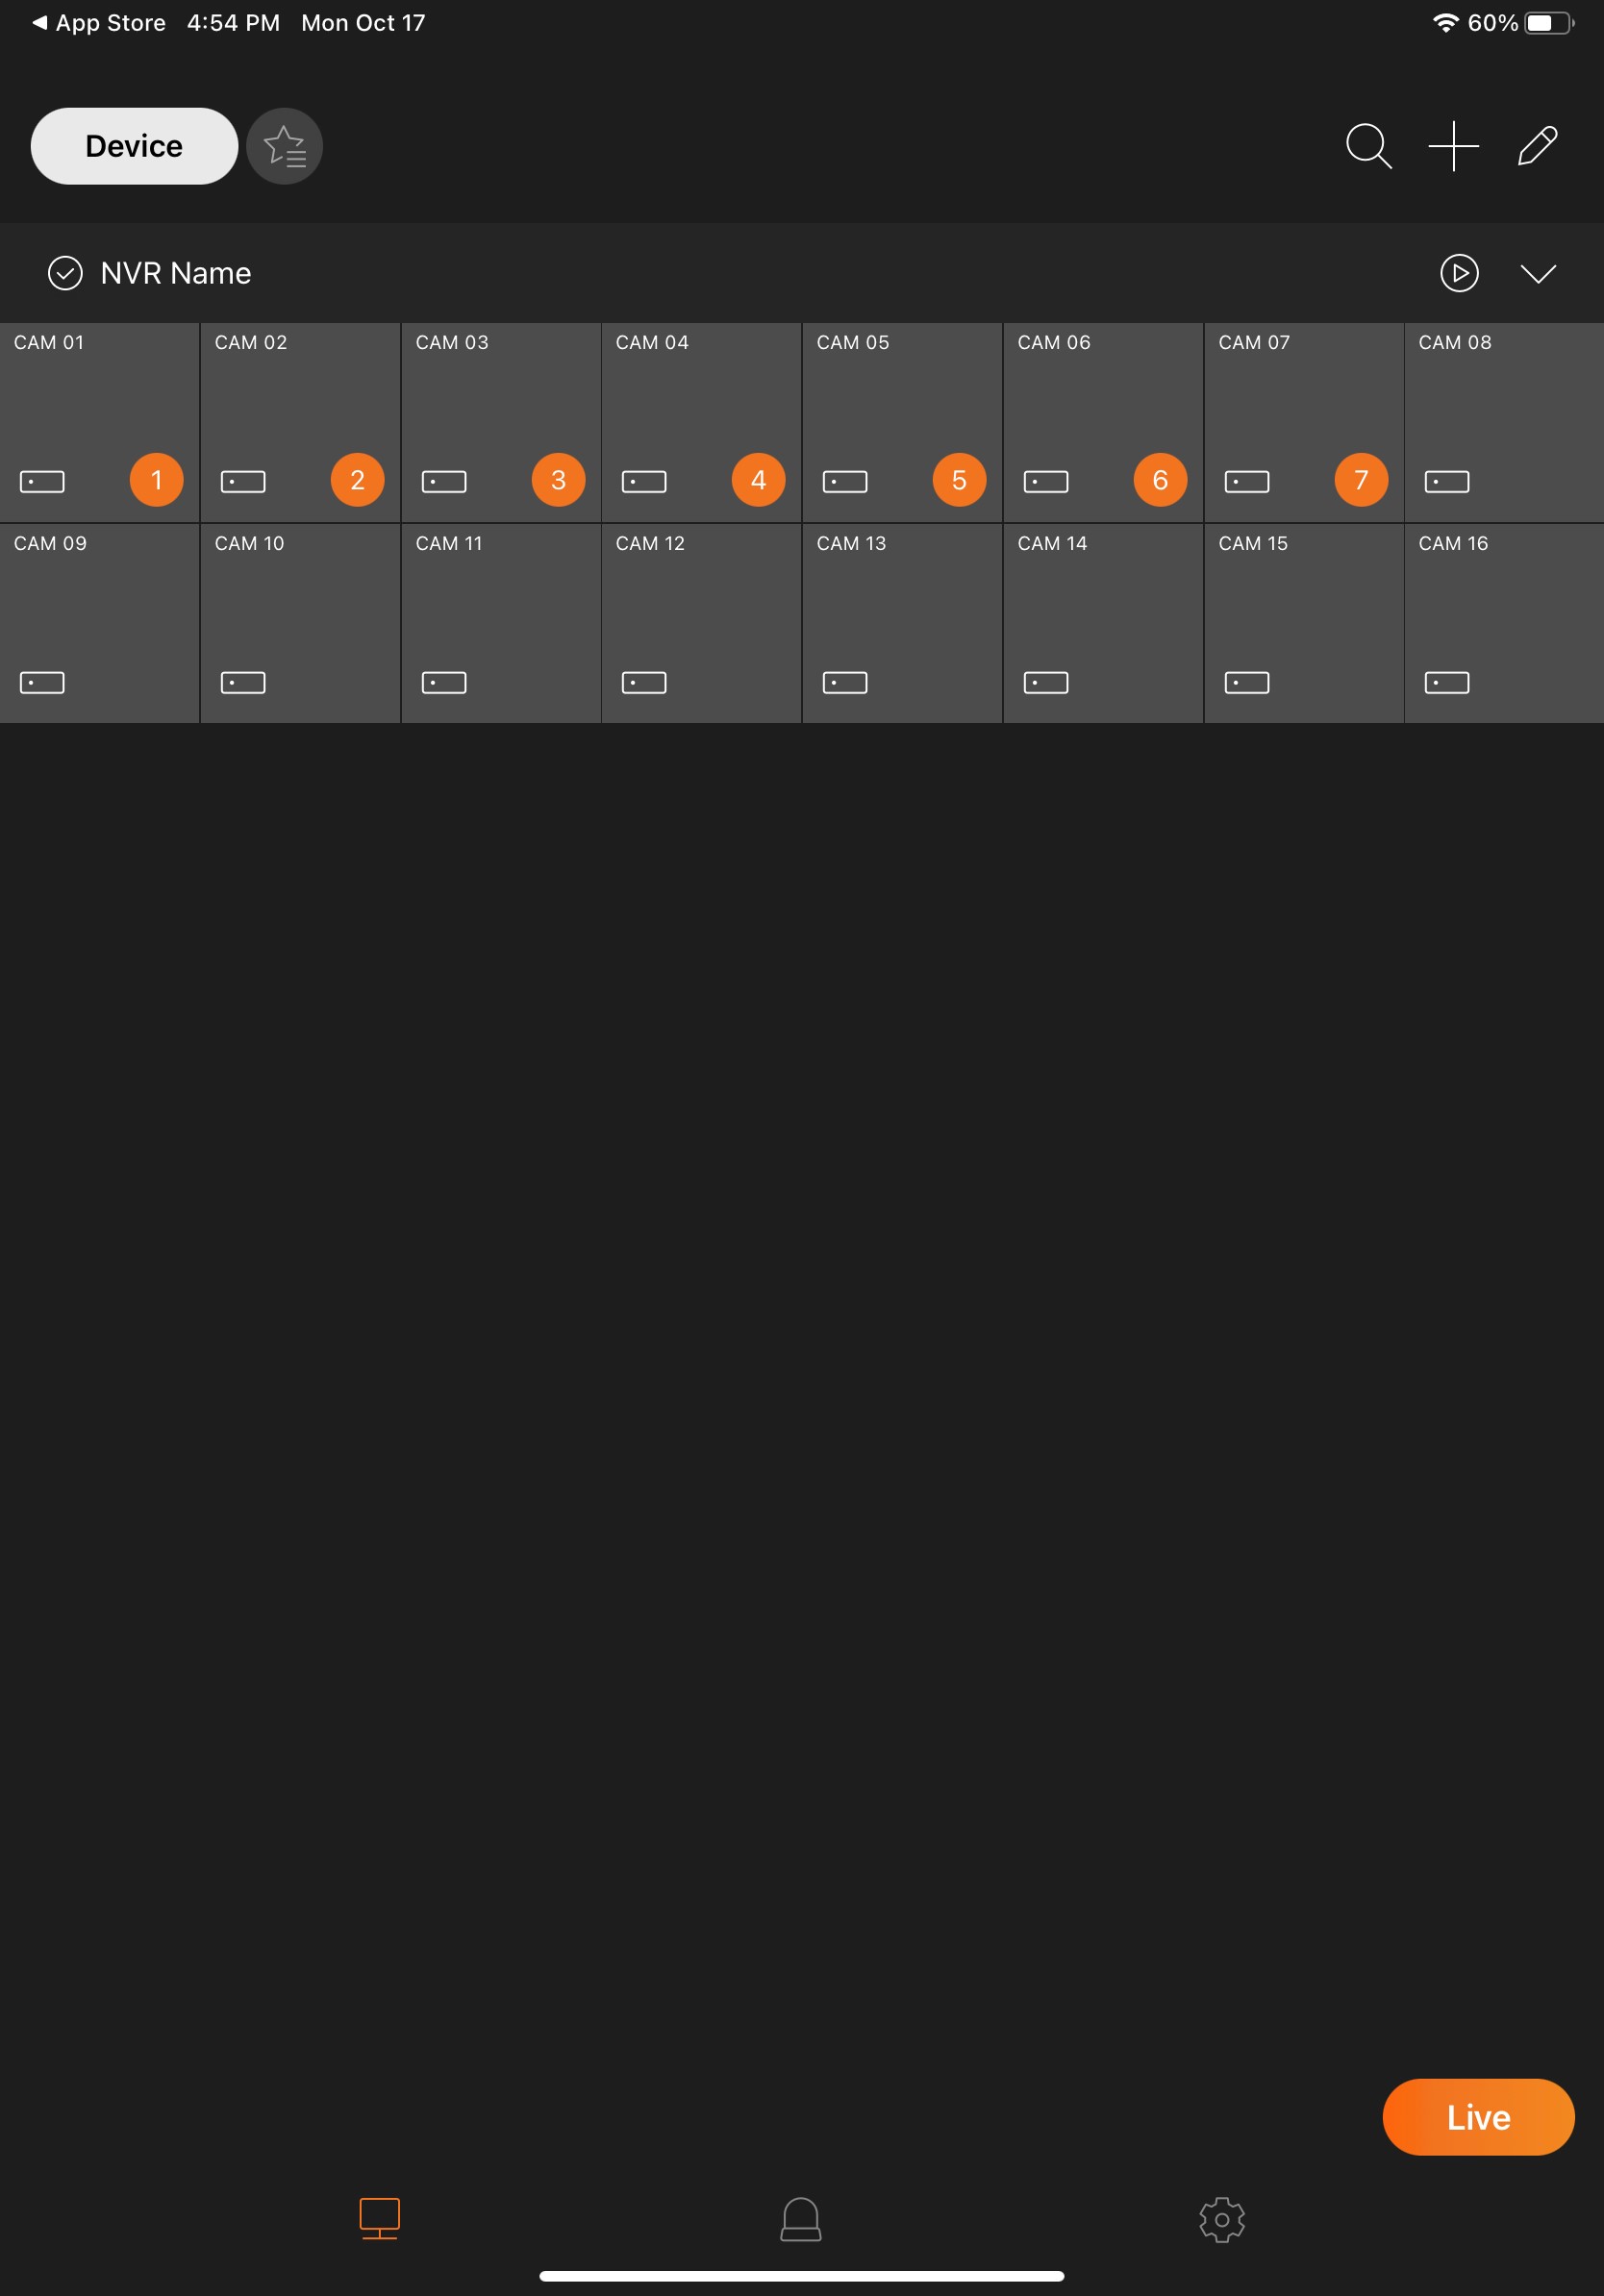
| 6 |
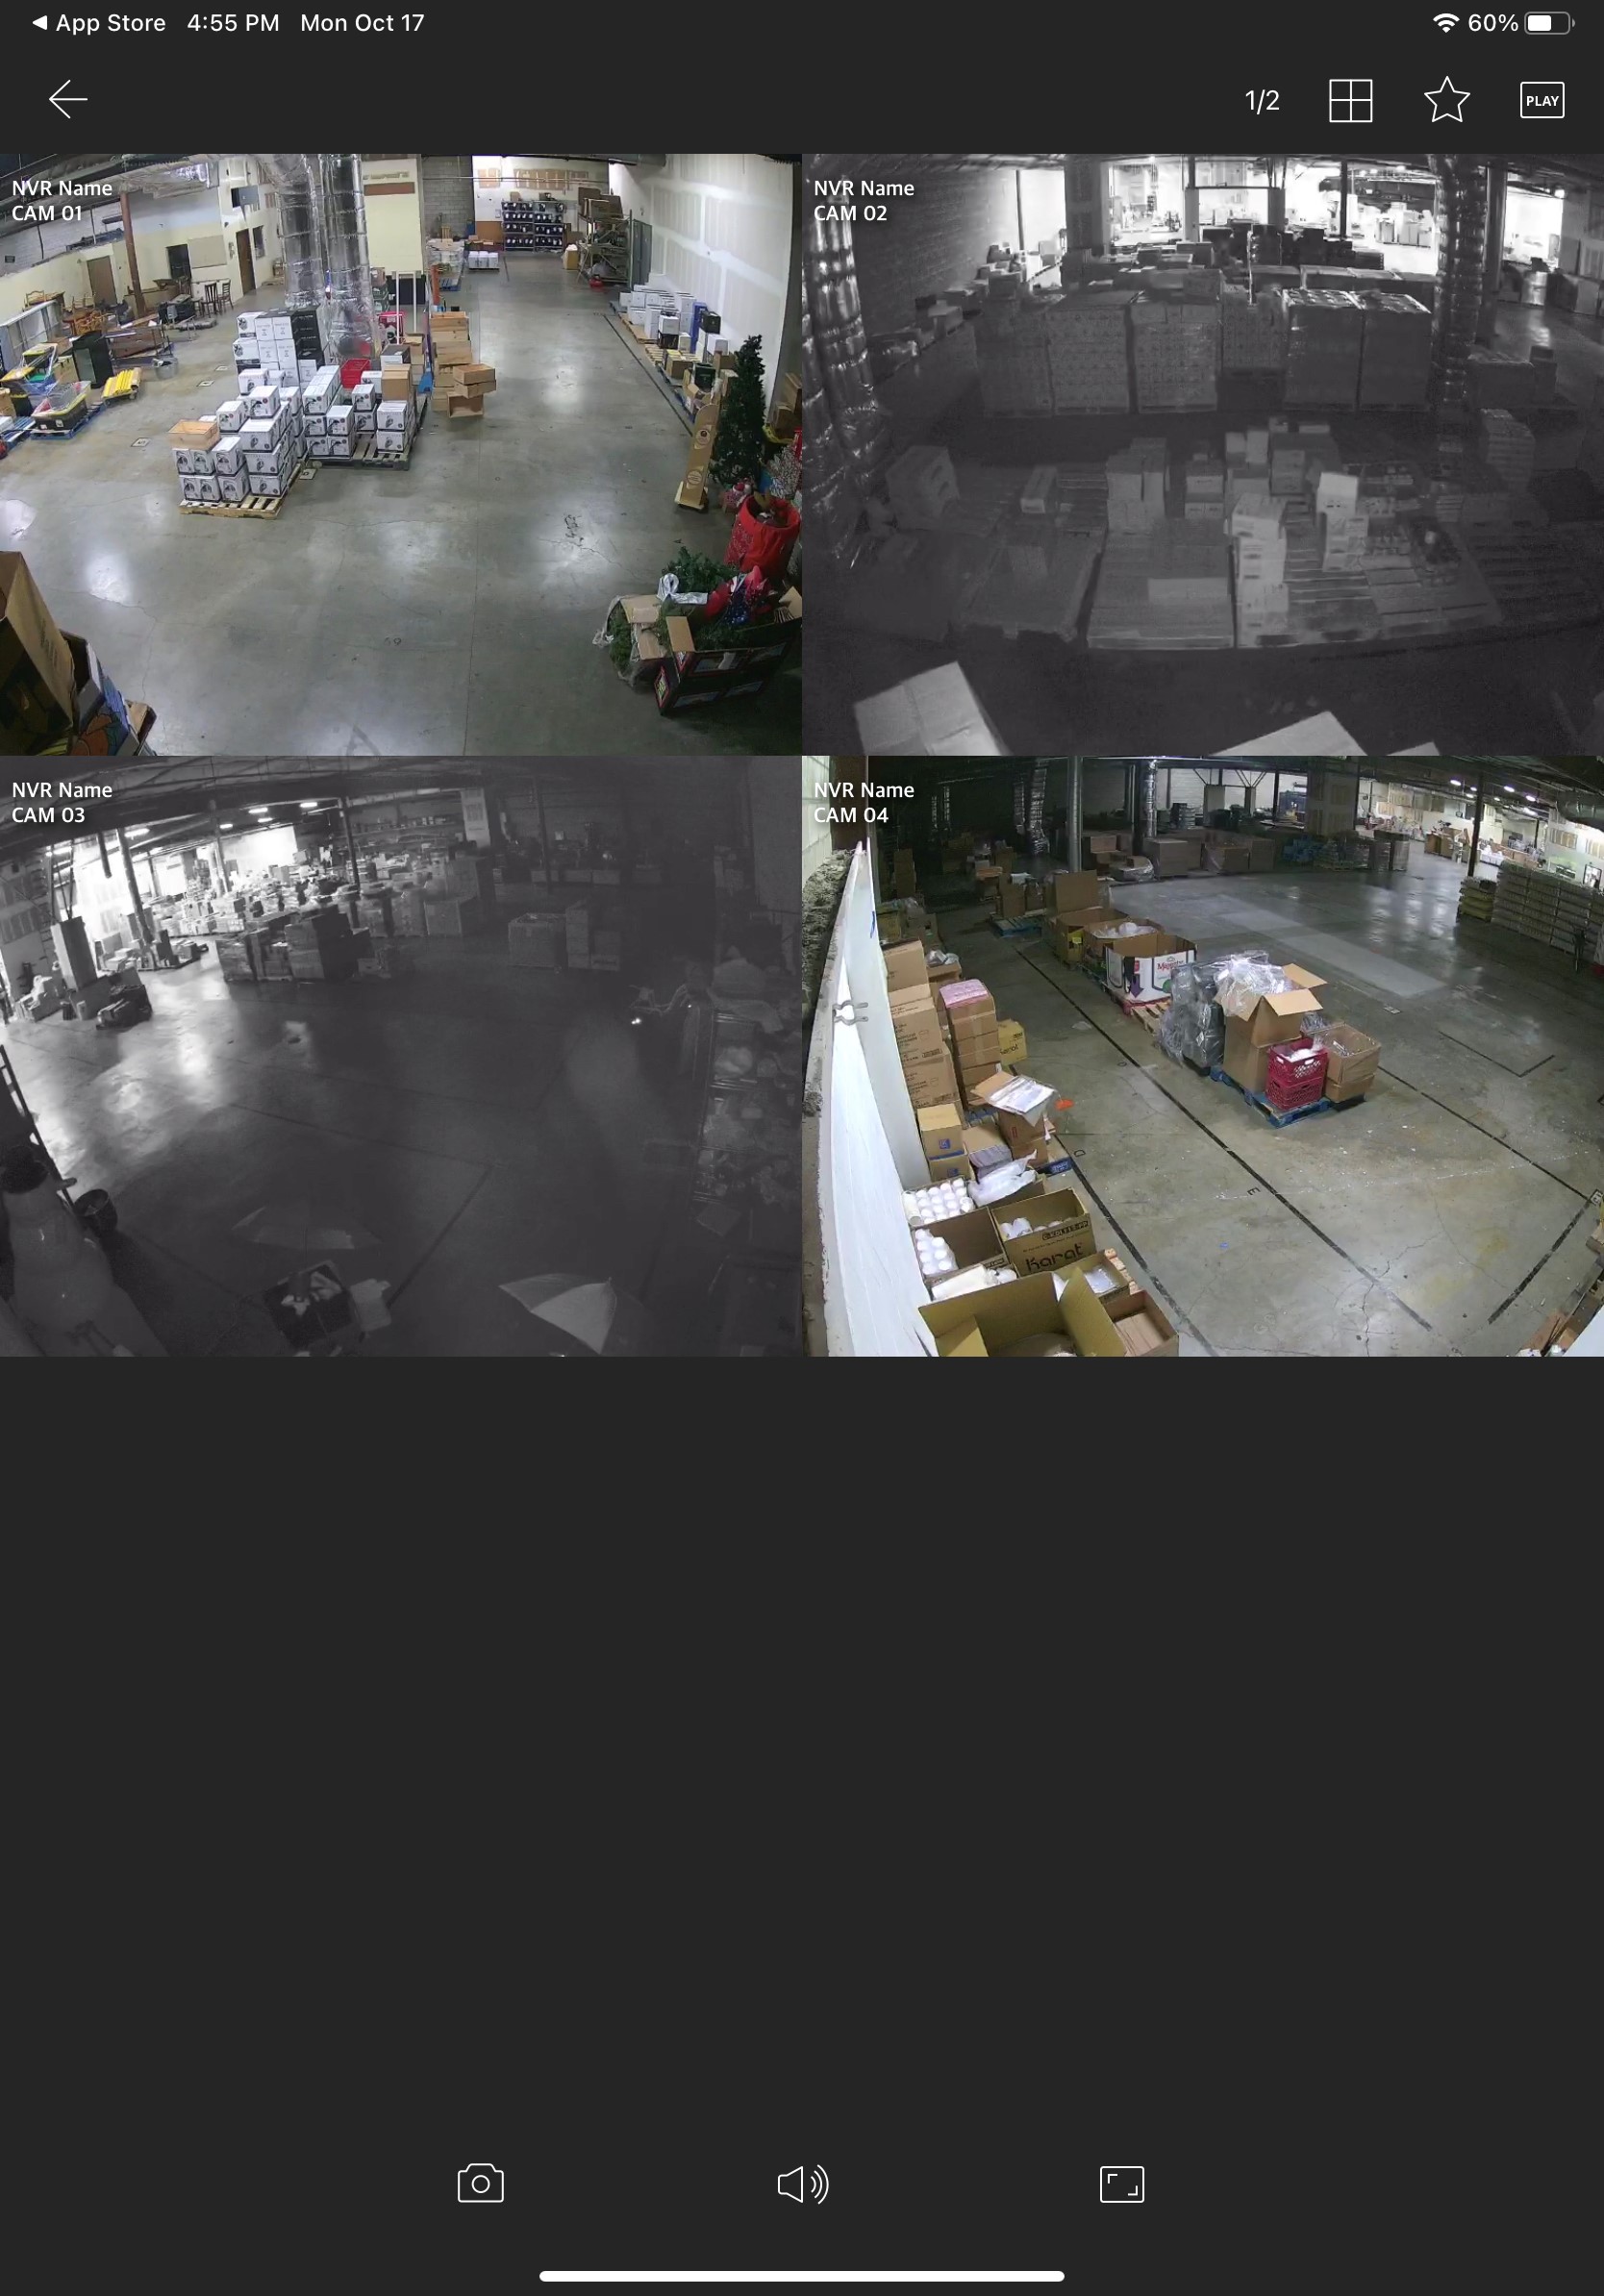
You are presented with the live view of selected cameras.
Choose the Grid button to change the view scale of the grid to see more cameras.
Select the Play button at the top right corner to access the recorded video’s on the NVR.
|
|
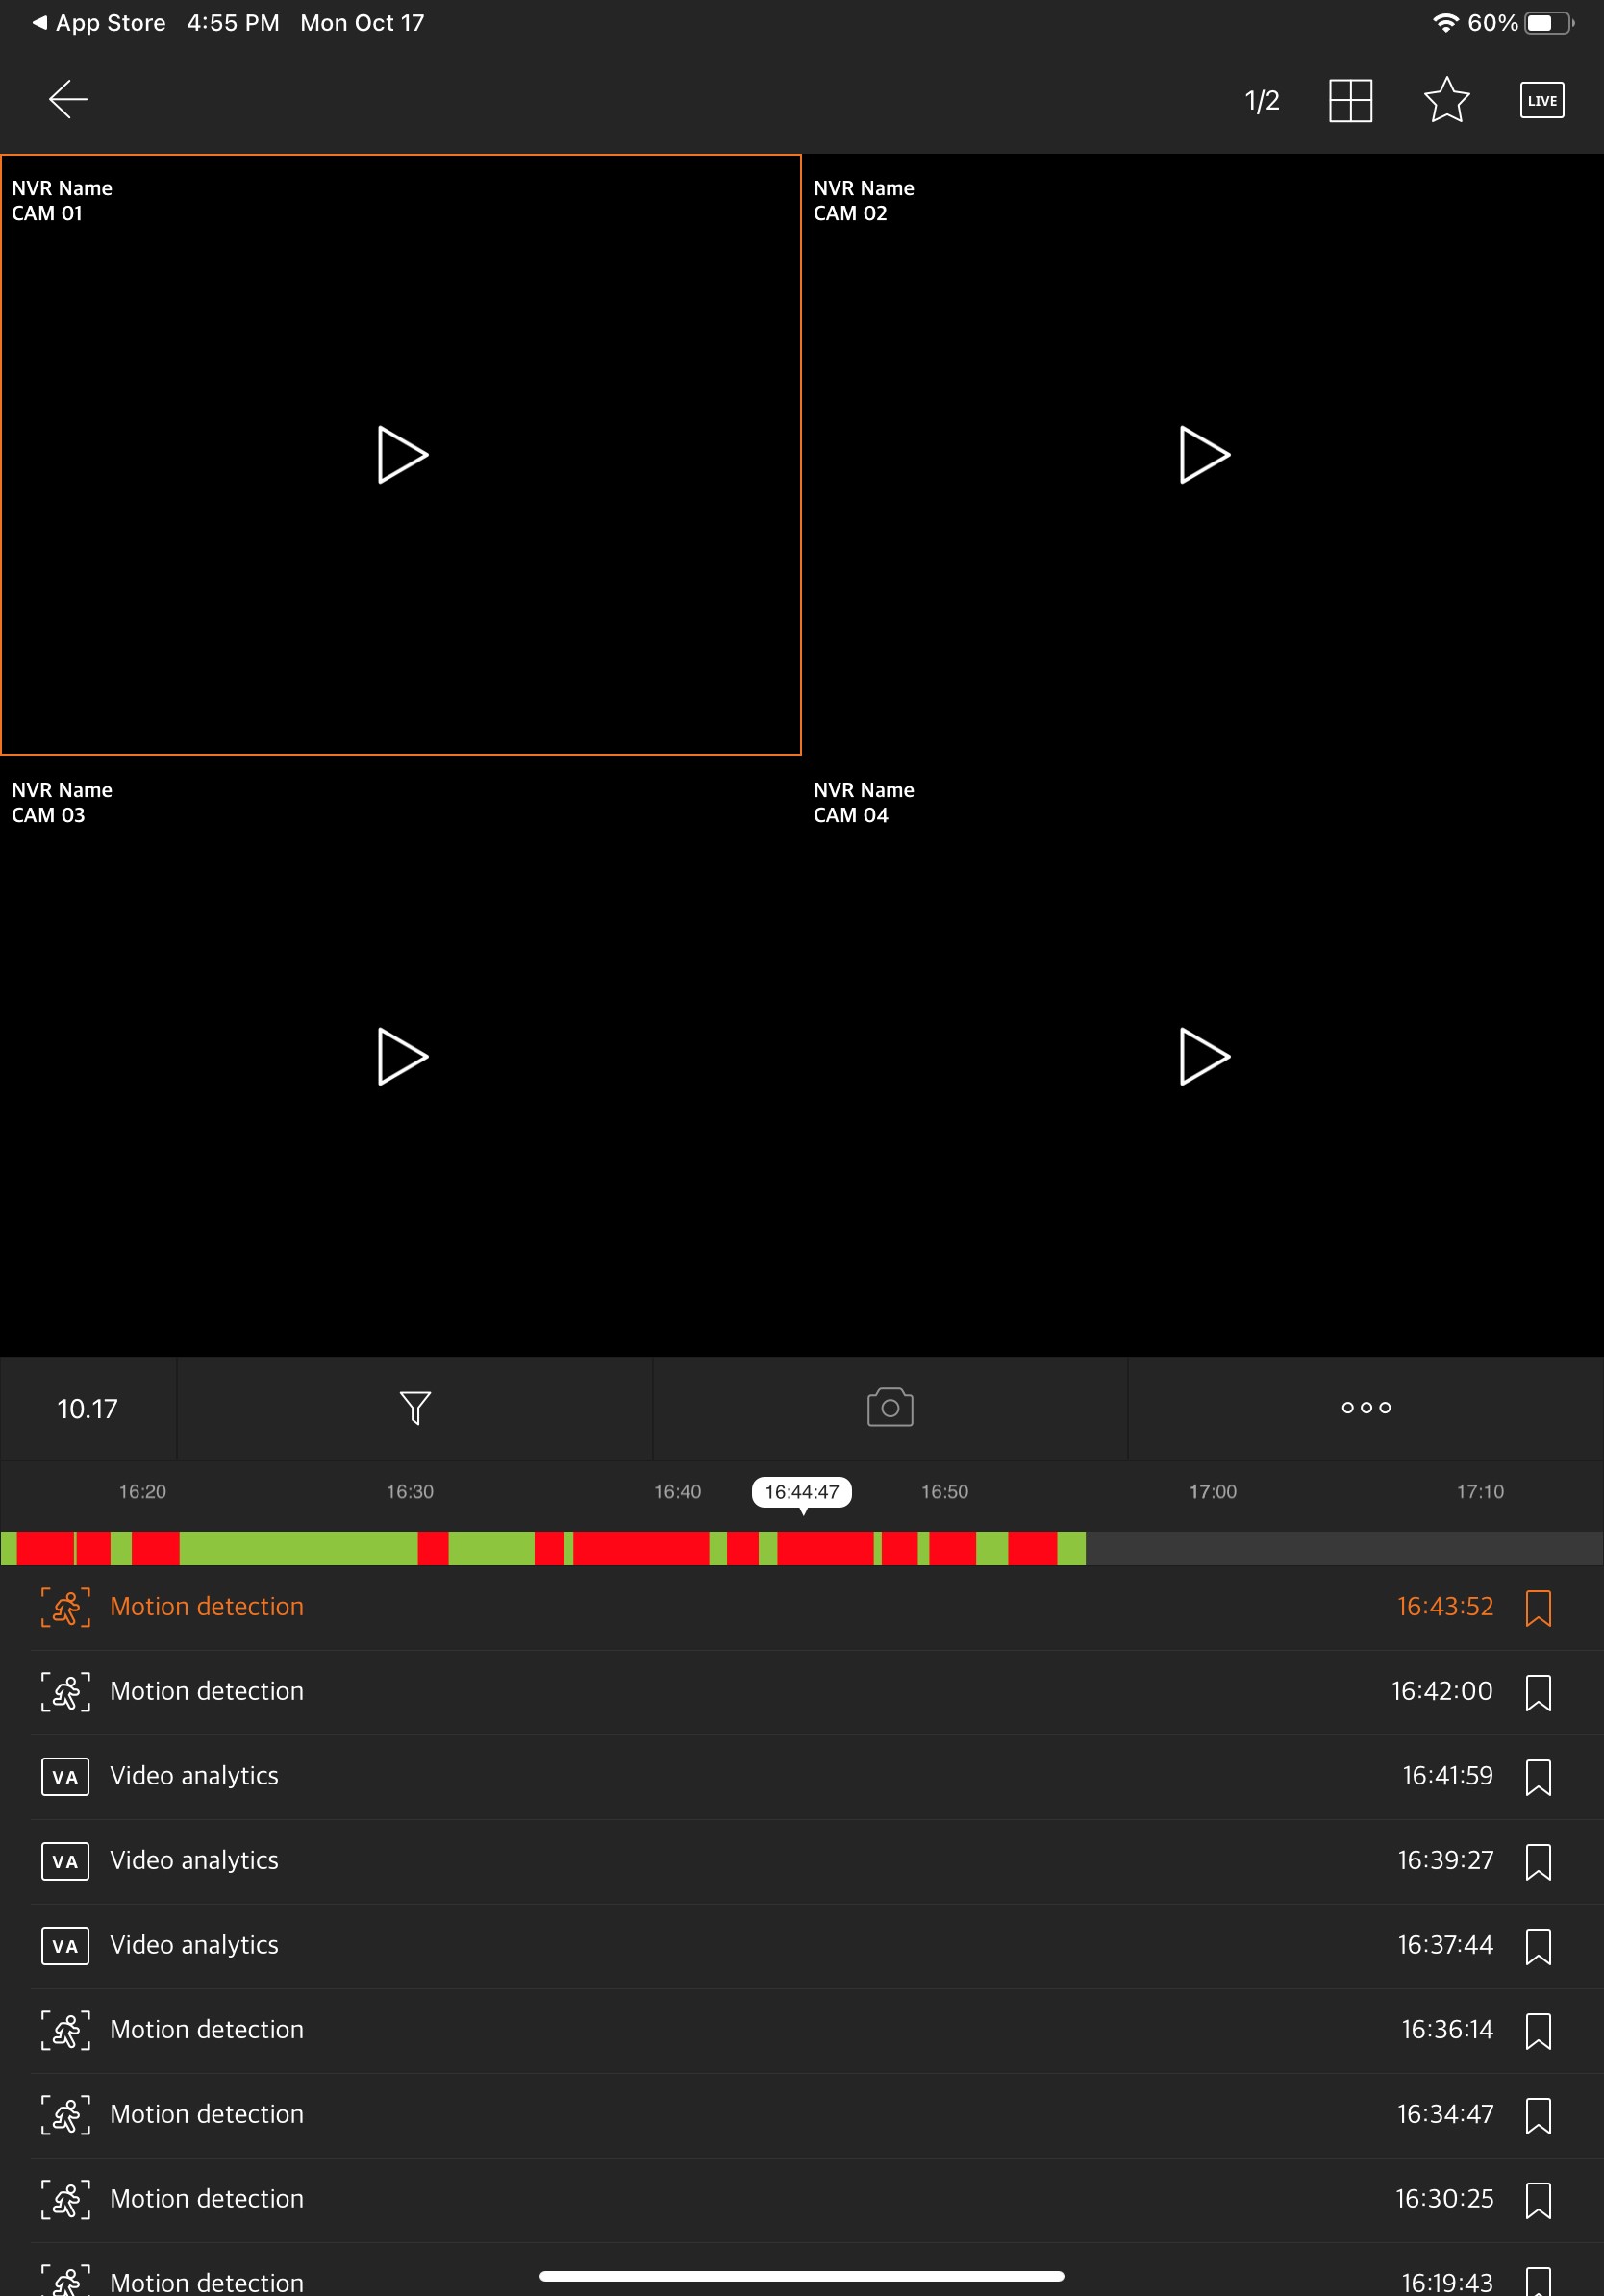
| 7 |
Use the Timeline and date options below the camera viewports to find and view previous recorded events.
Press the Live button at the top right corner to return to Live camera feed.
|
|
Article ID: 712
Created: October 17, 2022
Last Updated: October 18, 2022
Author: Natural Networks NOC [support@naturalnetworks.com]
Online URL: https://kb.naturalnetworks.com/article.php?id=712